


The Best Creamy, Gluten-Free Mac 'N Cheese
(No, really!)

Who doesn’t love a good bowl of pasta? I know I certainly do. Something about mac ‘n cheese leaves you feeling continuously comforted— For me, it reminds me of childhood, when dinner would sometimes consist of Kraft macaroni and cheese and a hot dog. I know— how healthy, right?
Just because you can’t have gluten anymore, doesn’t mean you can’t enjoy an incredible mac! This recipe is so good, that you can hardly even tell that it is wheat-free.
First and foremost, I would like to recommend this brand of pasta:
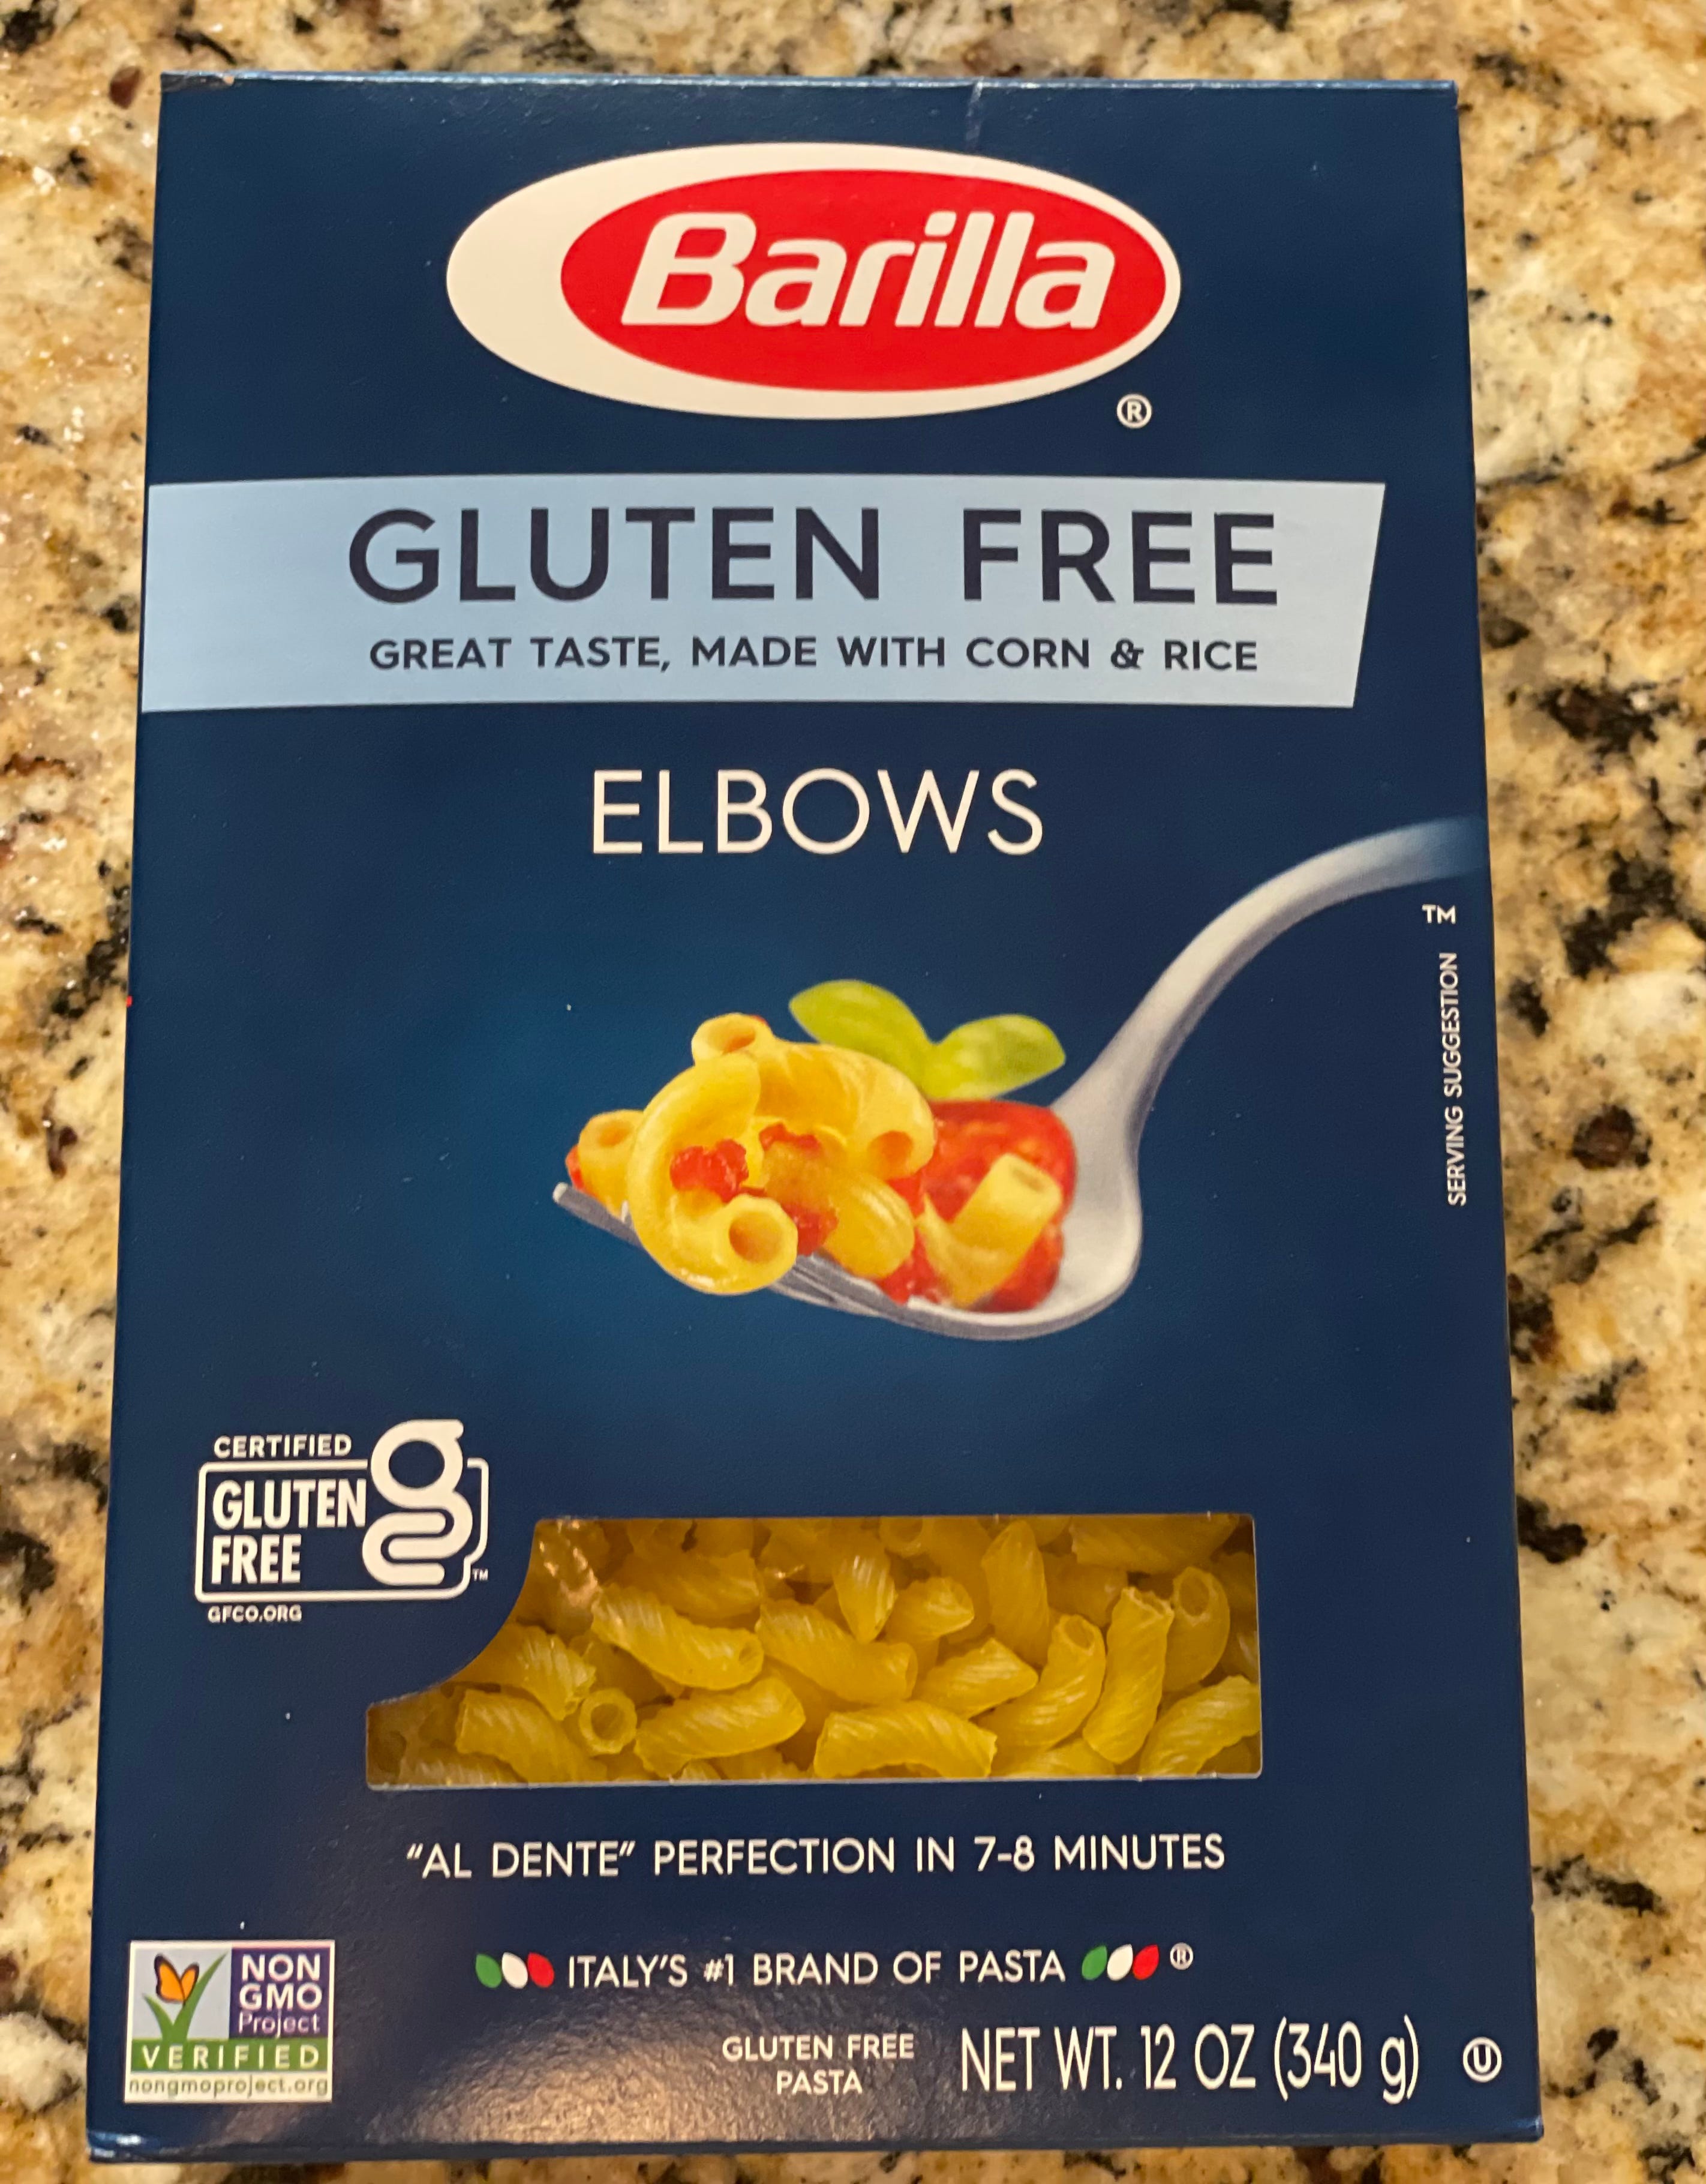
Barilla brand gluten-free pasta is a perfect substitution! It doesn’t take too long to cook, has a pleasant flavor, and has a superb, fluffy texture.
Also, here is the flour that I recommend:
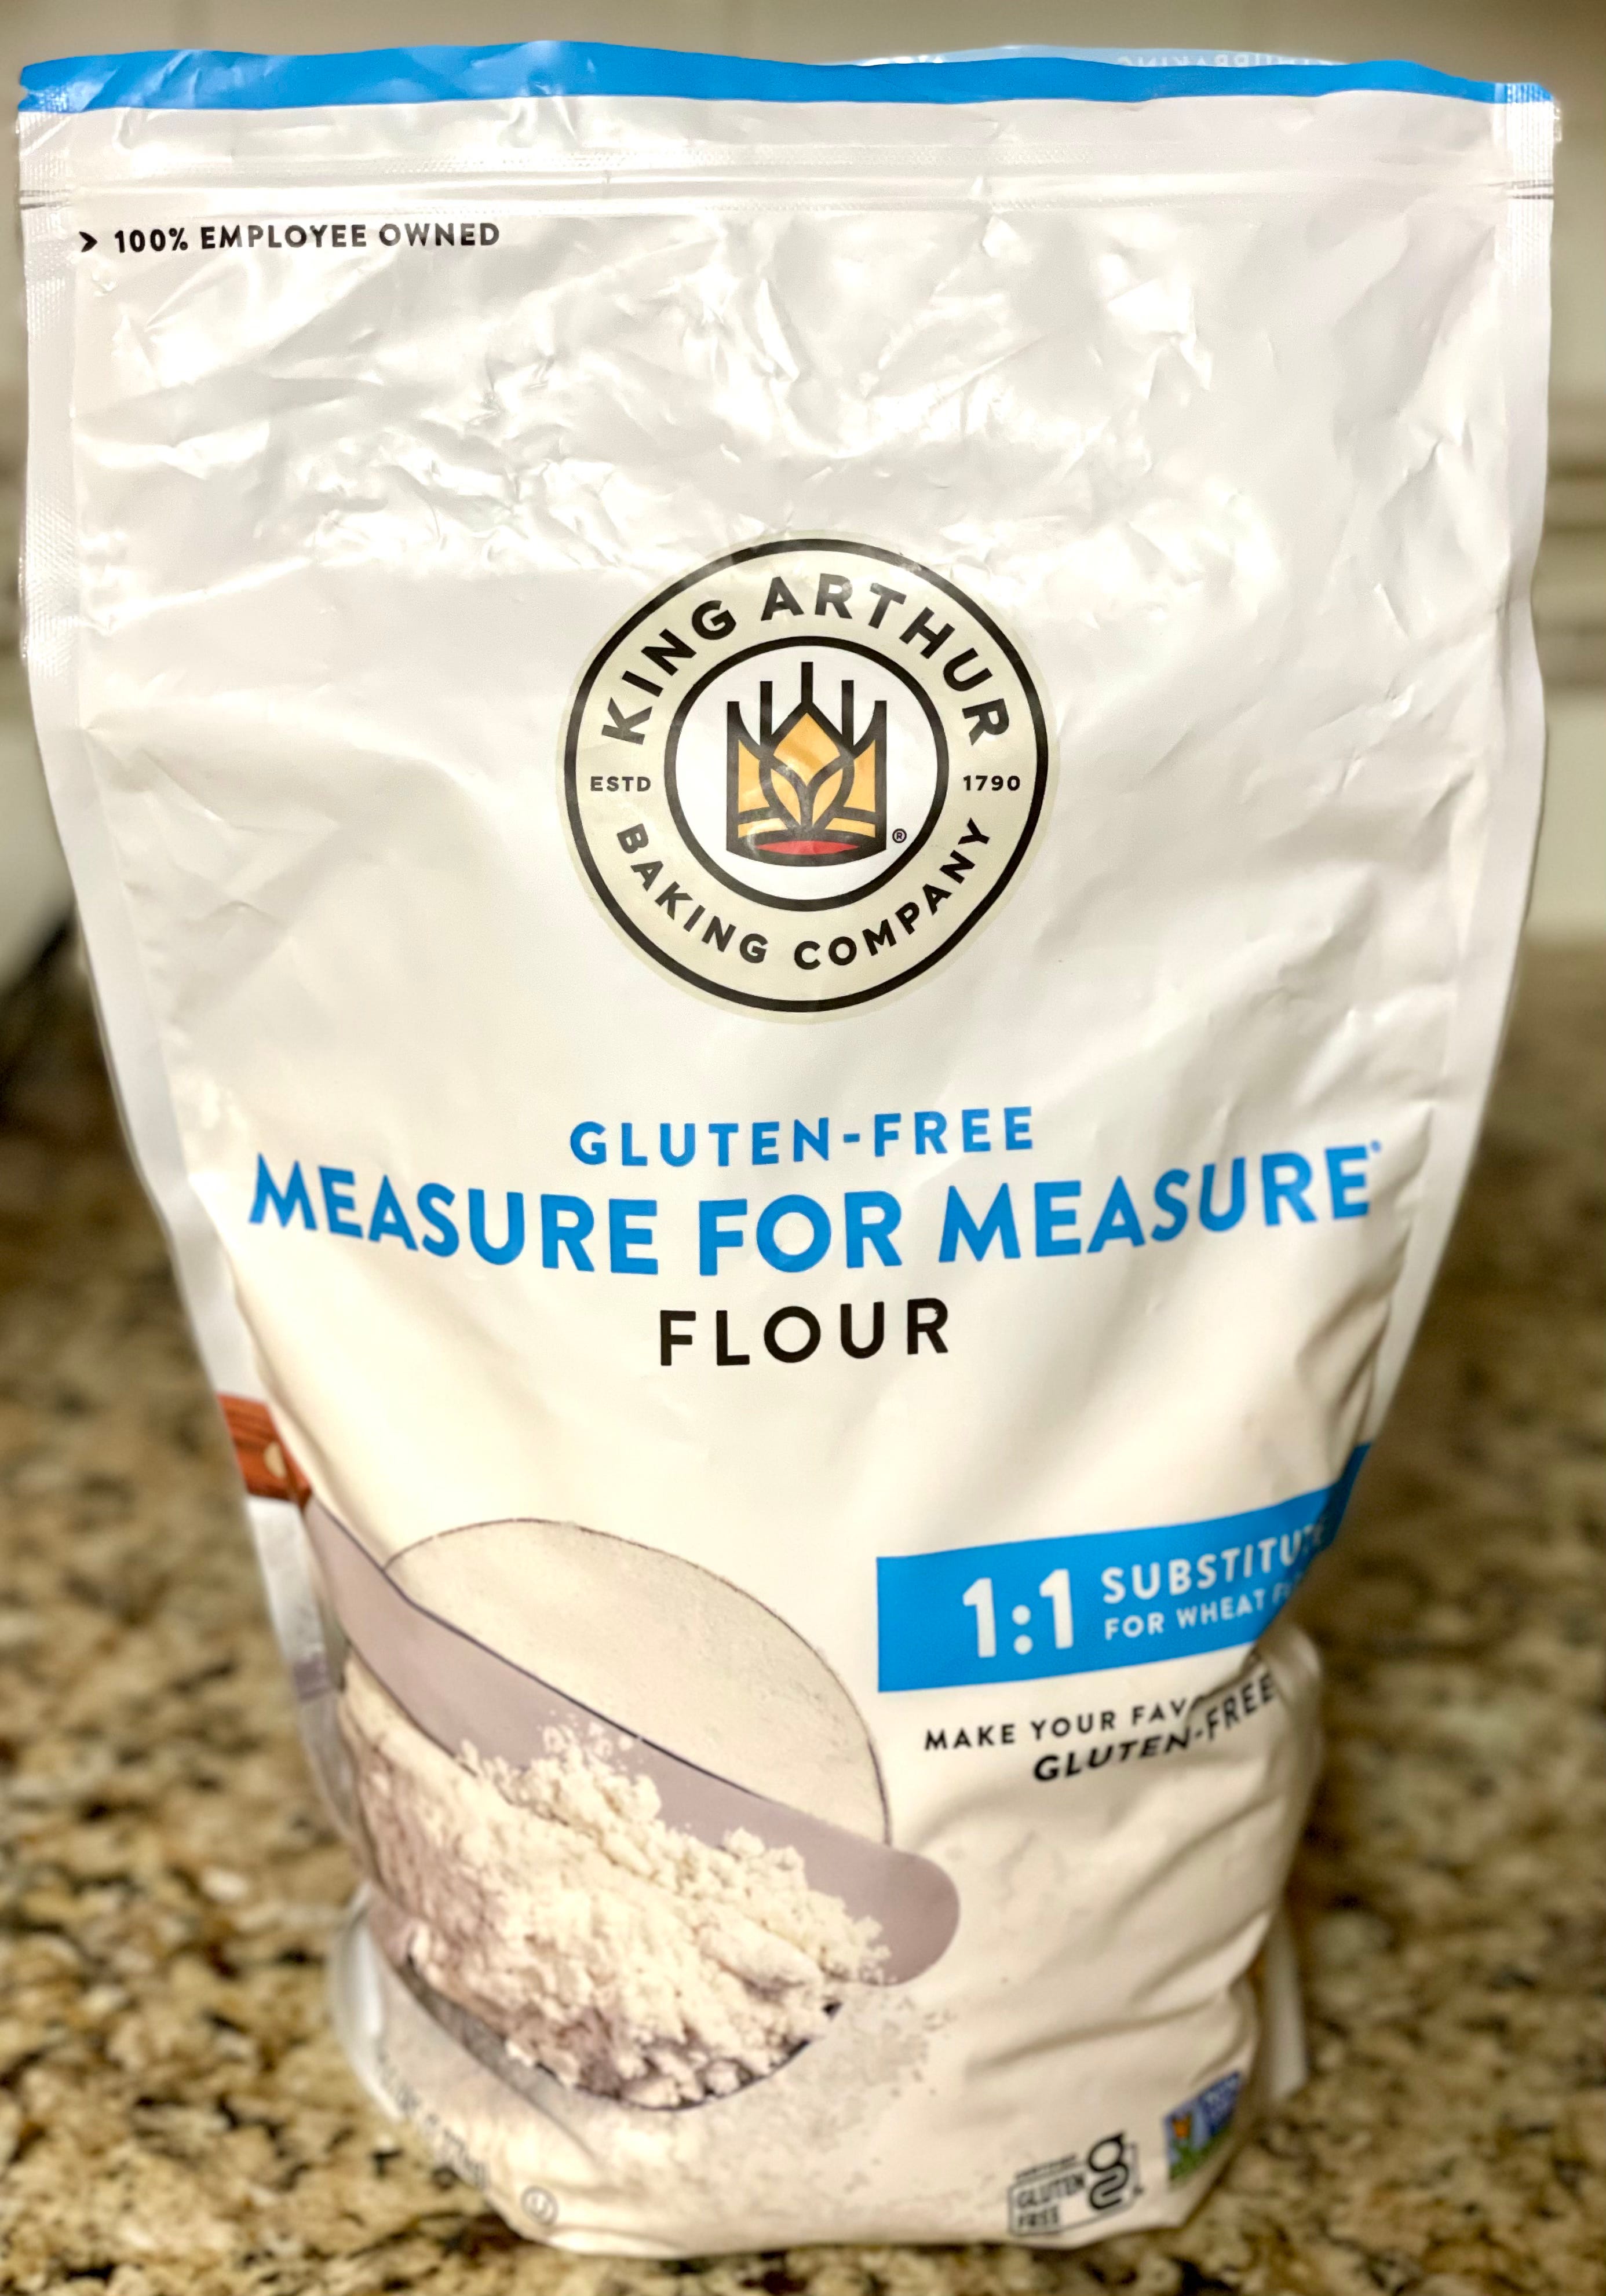
I use King Arthur’s Gluten-Free Measure For Measure Flour with just about everything. It’s a really good brand and a wonderful substitution for all-purpose flour.
The Best Creamy, Gluten-Free Mac ‘N Cheese
*Makes a 9x13 inch pan *Prep time: 25 minutes *Cook time: 20 minutes
Ingredients:
12-16 oz box of gluten-free pasta (I would totally recommend Barilla brand!)
1 pound of fresh, sharp cheddar cheese, cubed and divided
1/2 pound of original Velveeta cheese
1/2 cup (one stick) of butter
1 teaspoon of salt
1/2 teaspoon of pepper
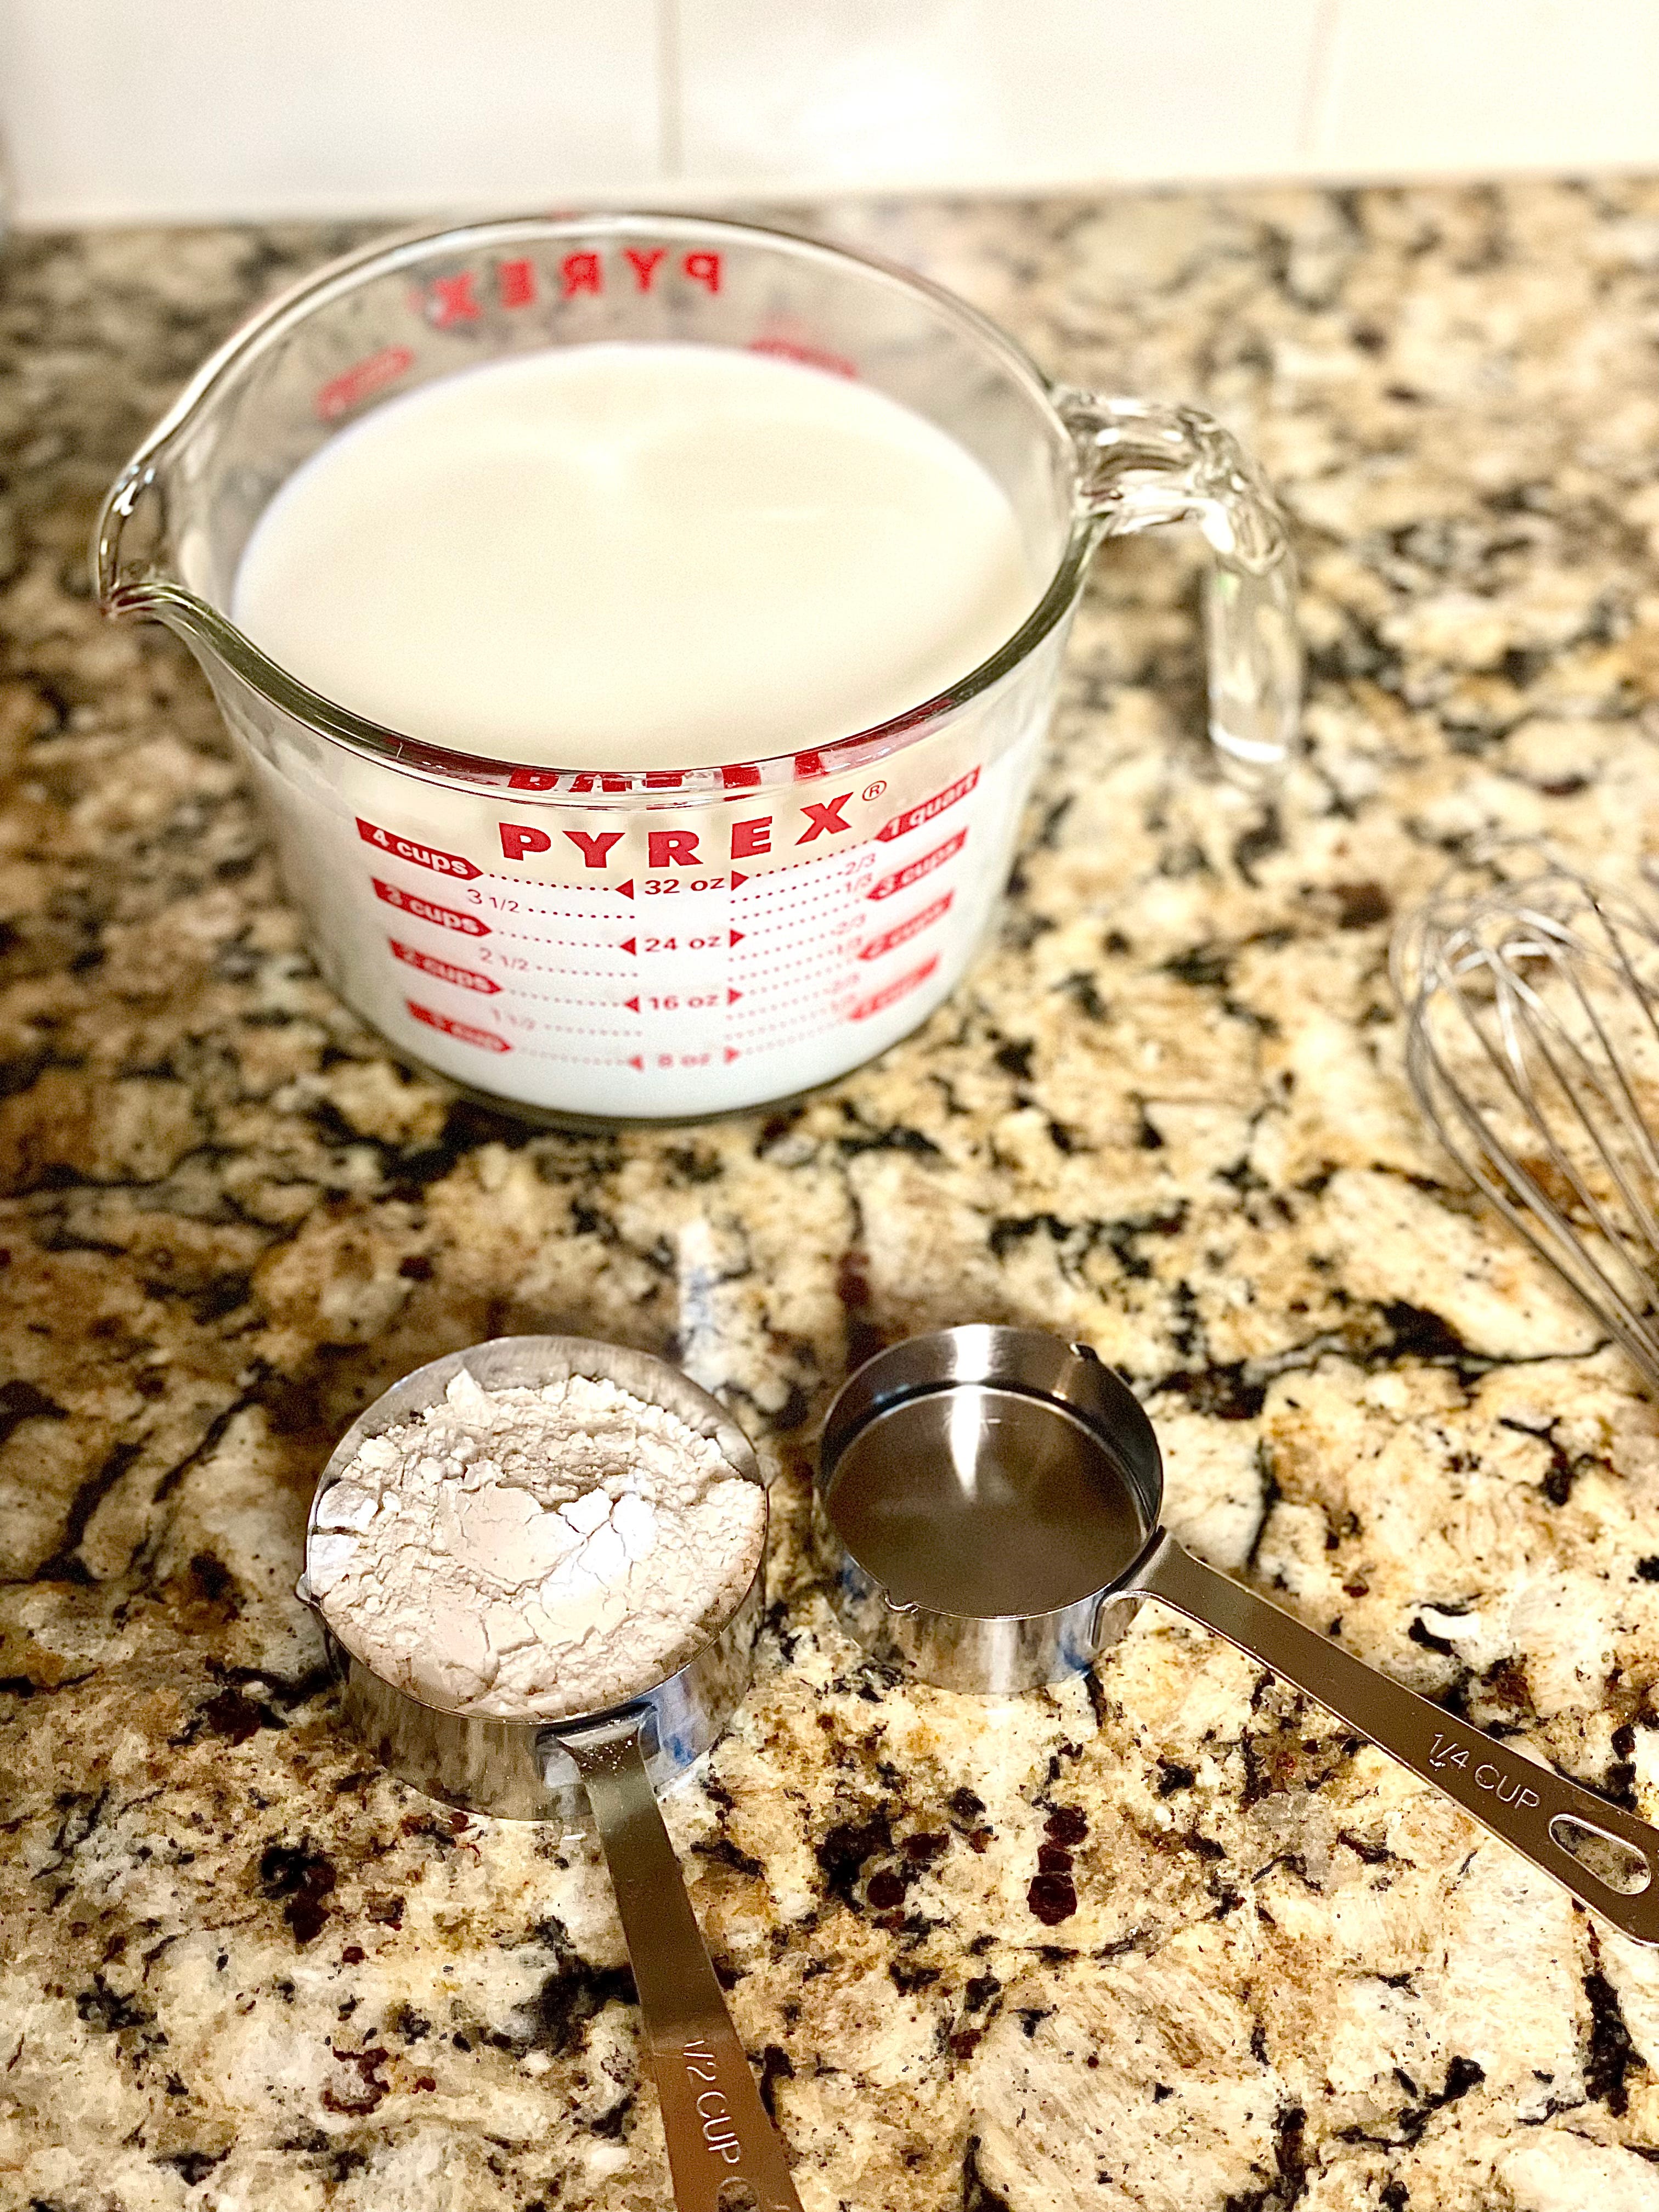
1/2 cup of gluten free flour (Tip: Make sure to spoon your flour into the measuring cup. If you pack gluten-free flour, you can end up with too much and mess up the recipe. I didn’t know that for a bit— so that’s definitely useful knowledge!)
1/4 cup of water
3 1/2 cups of warm milk
(Optional) Bread crumb topping:
1 cup of gluten-free bread crumbs
4 Tablespoons of melted butter
Directions:
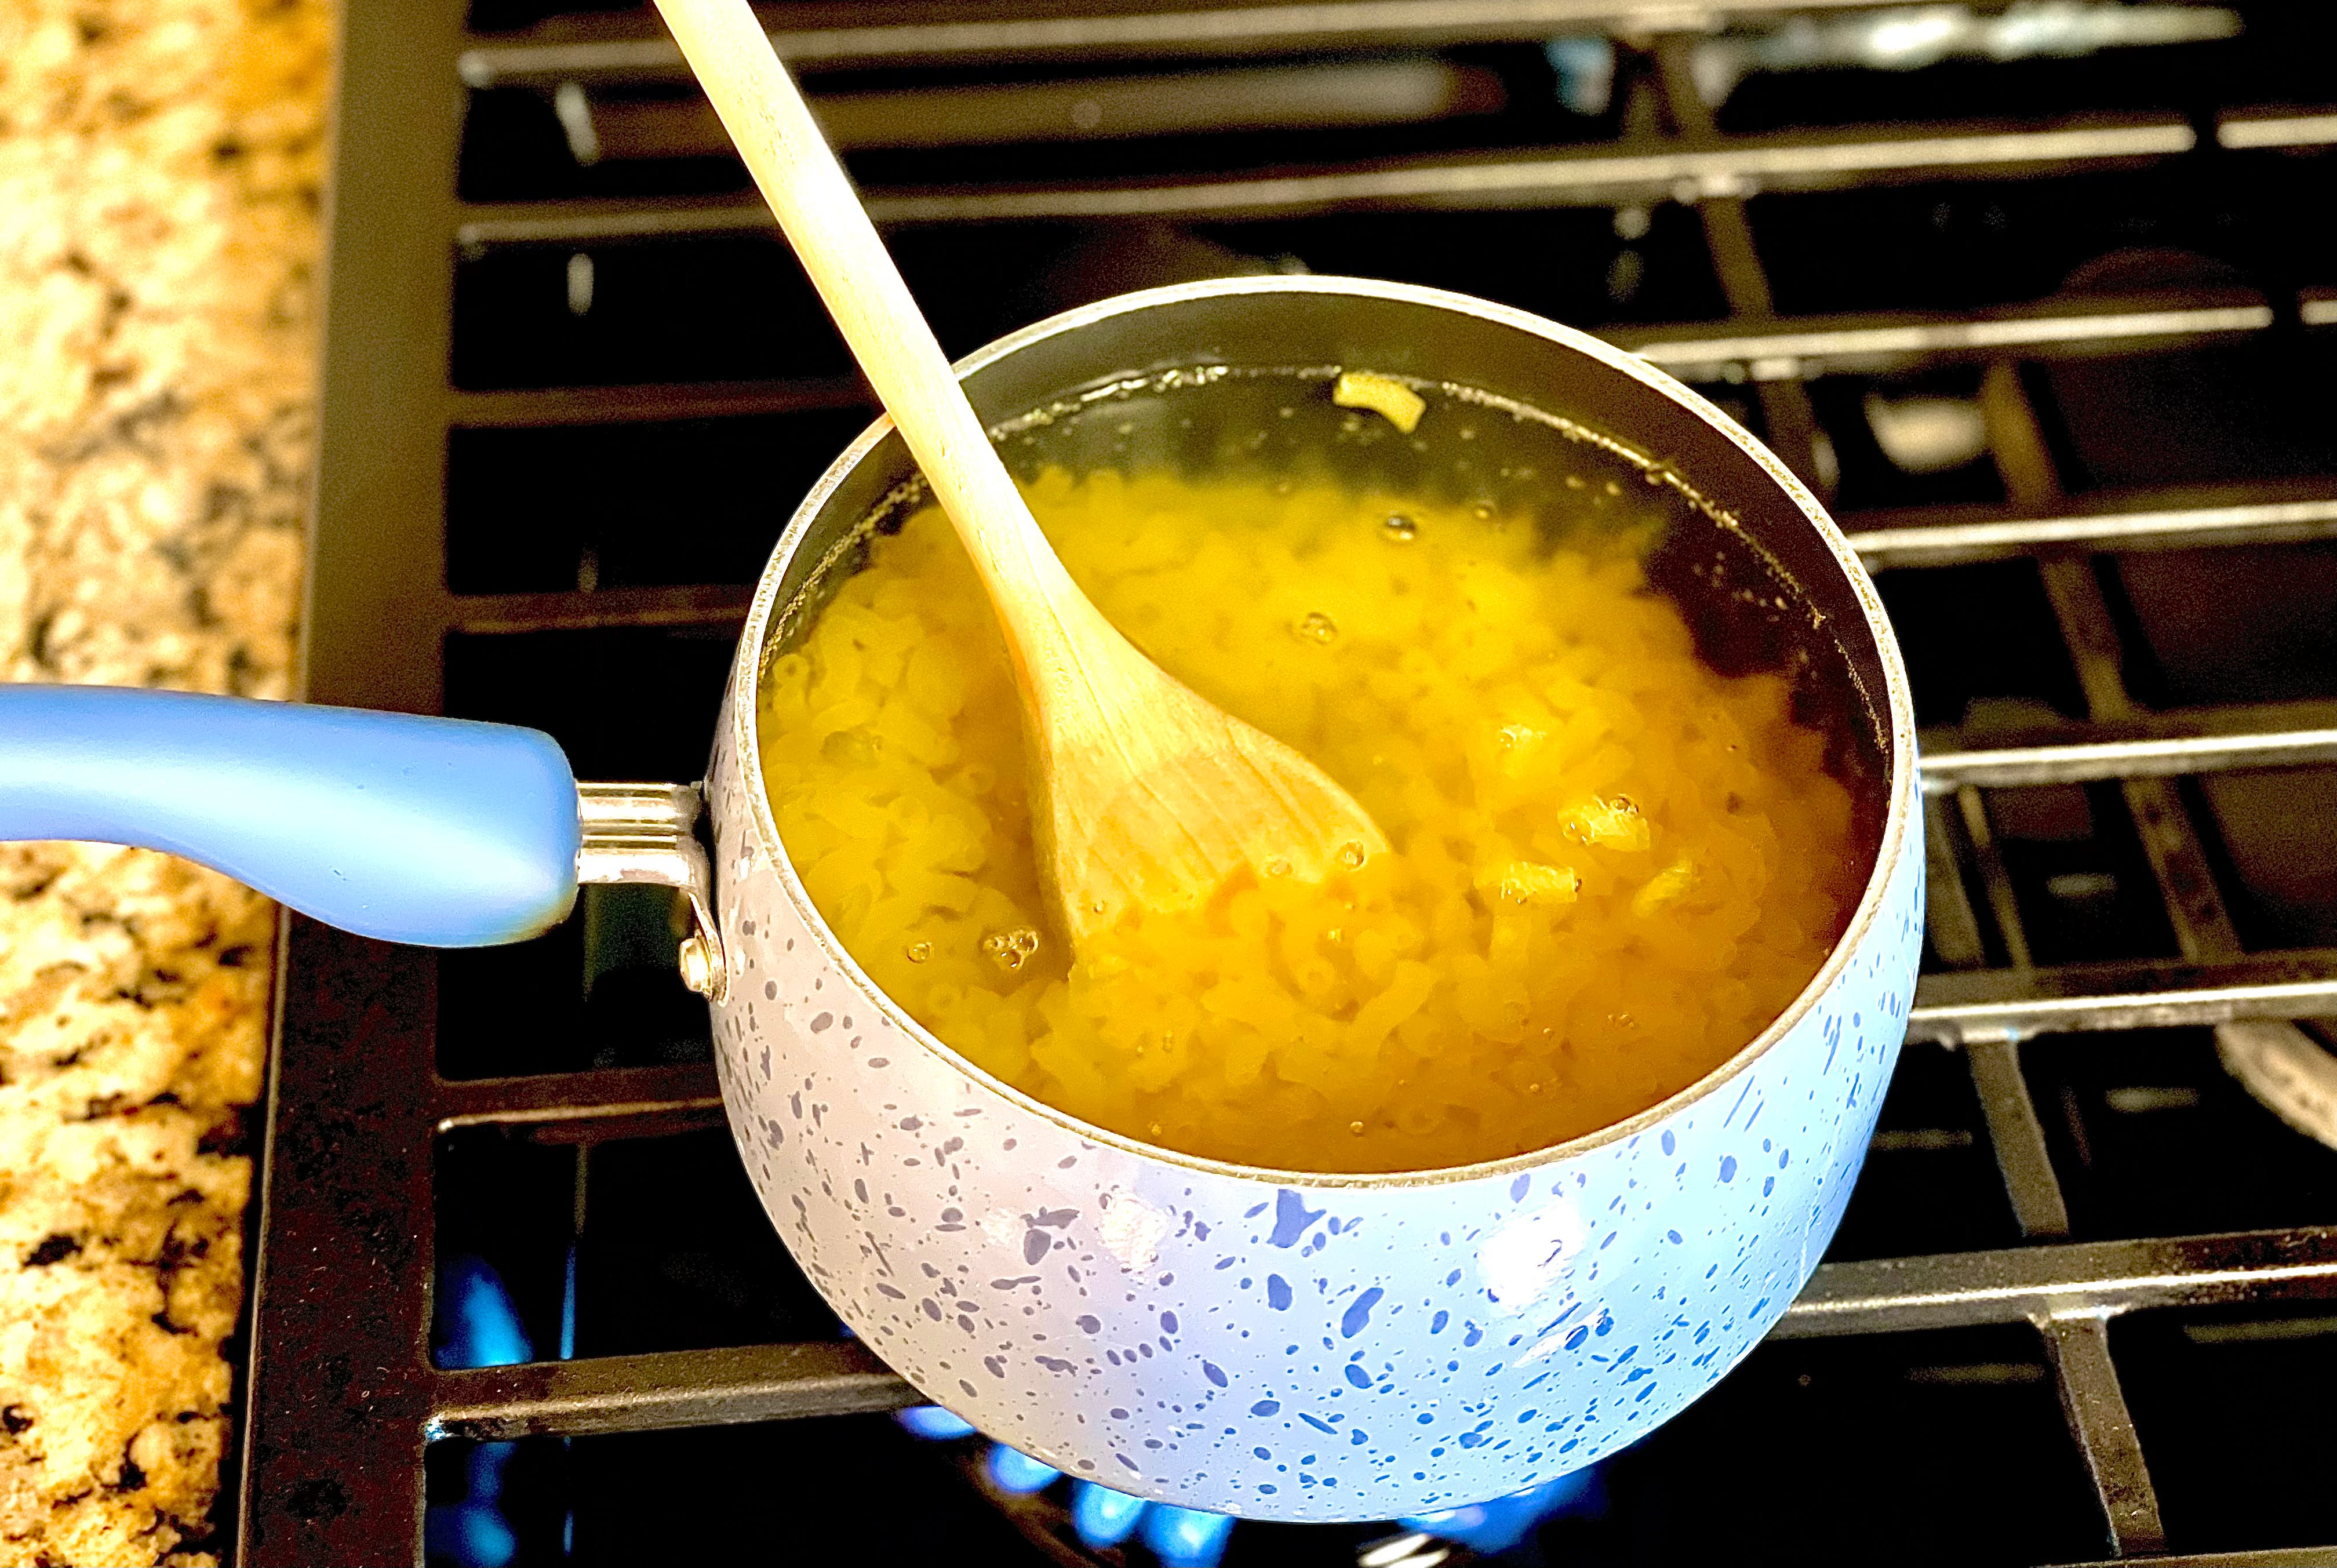
First begin by boiling your pasta. Cook accordingly to the boxed instructions or to your personal preference. I prefer my pasta to be cooked well done. With the Barilla brand elbow pasta, it absorbs most of the water and leaves the pasta perfectly fluffy.
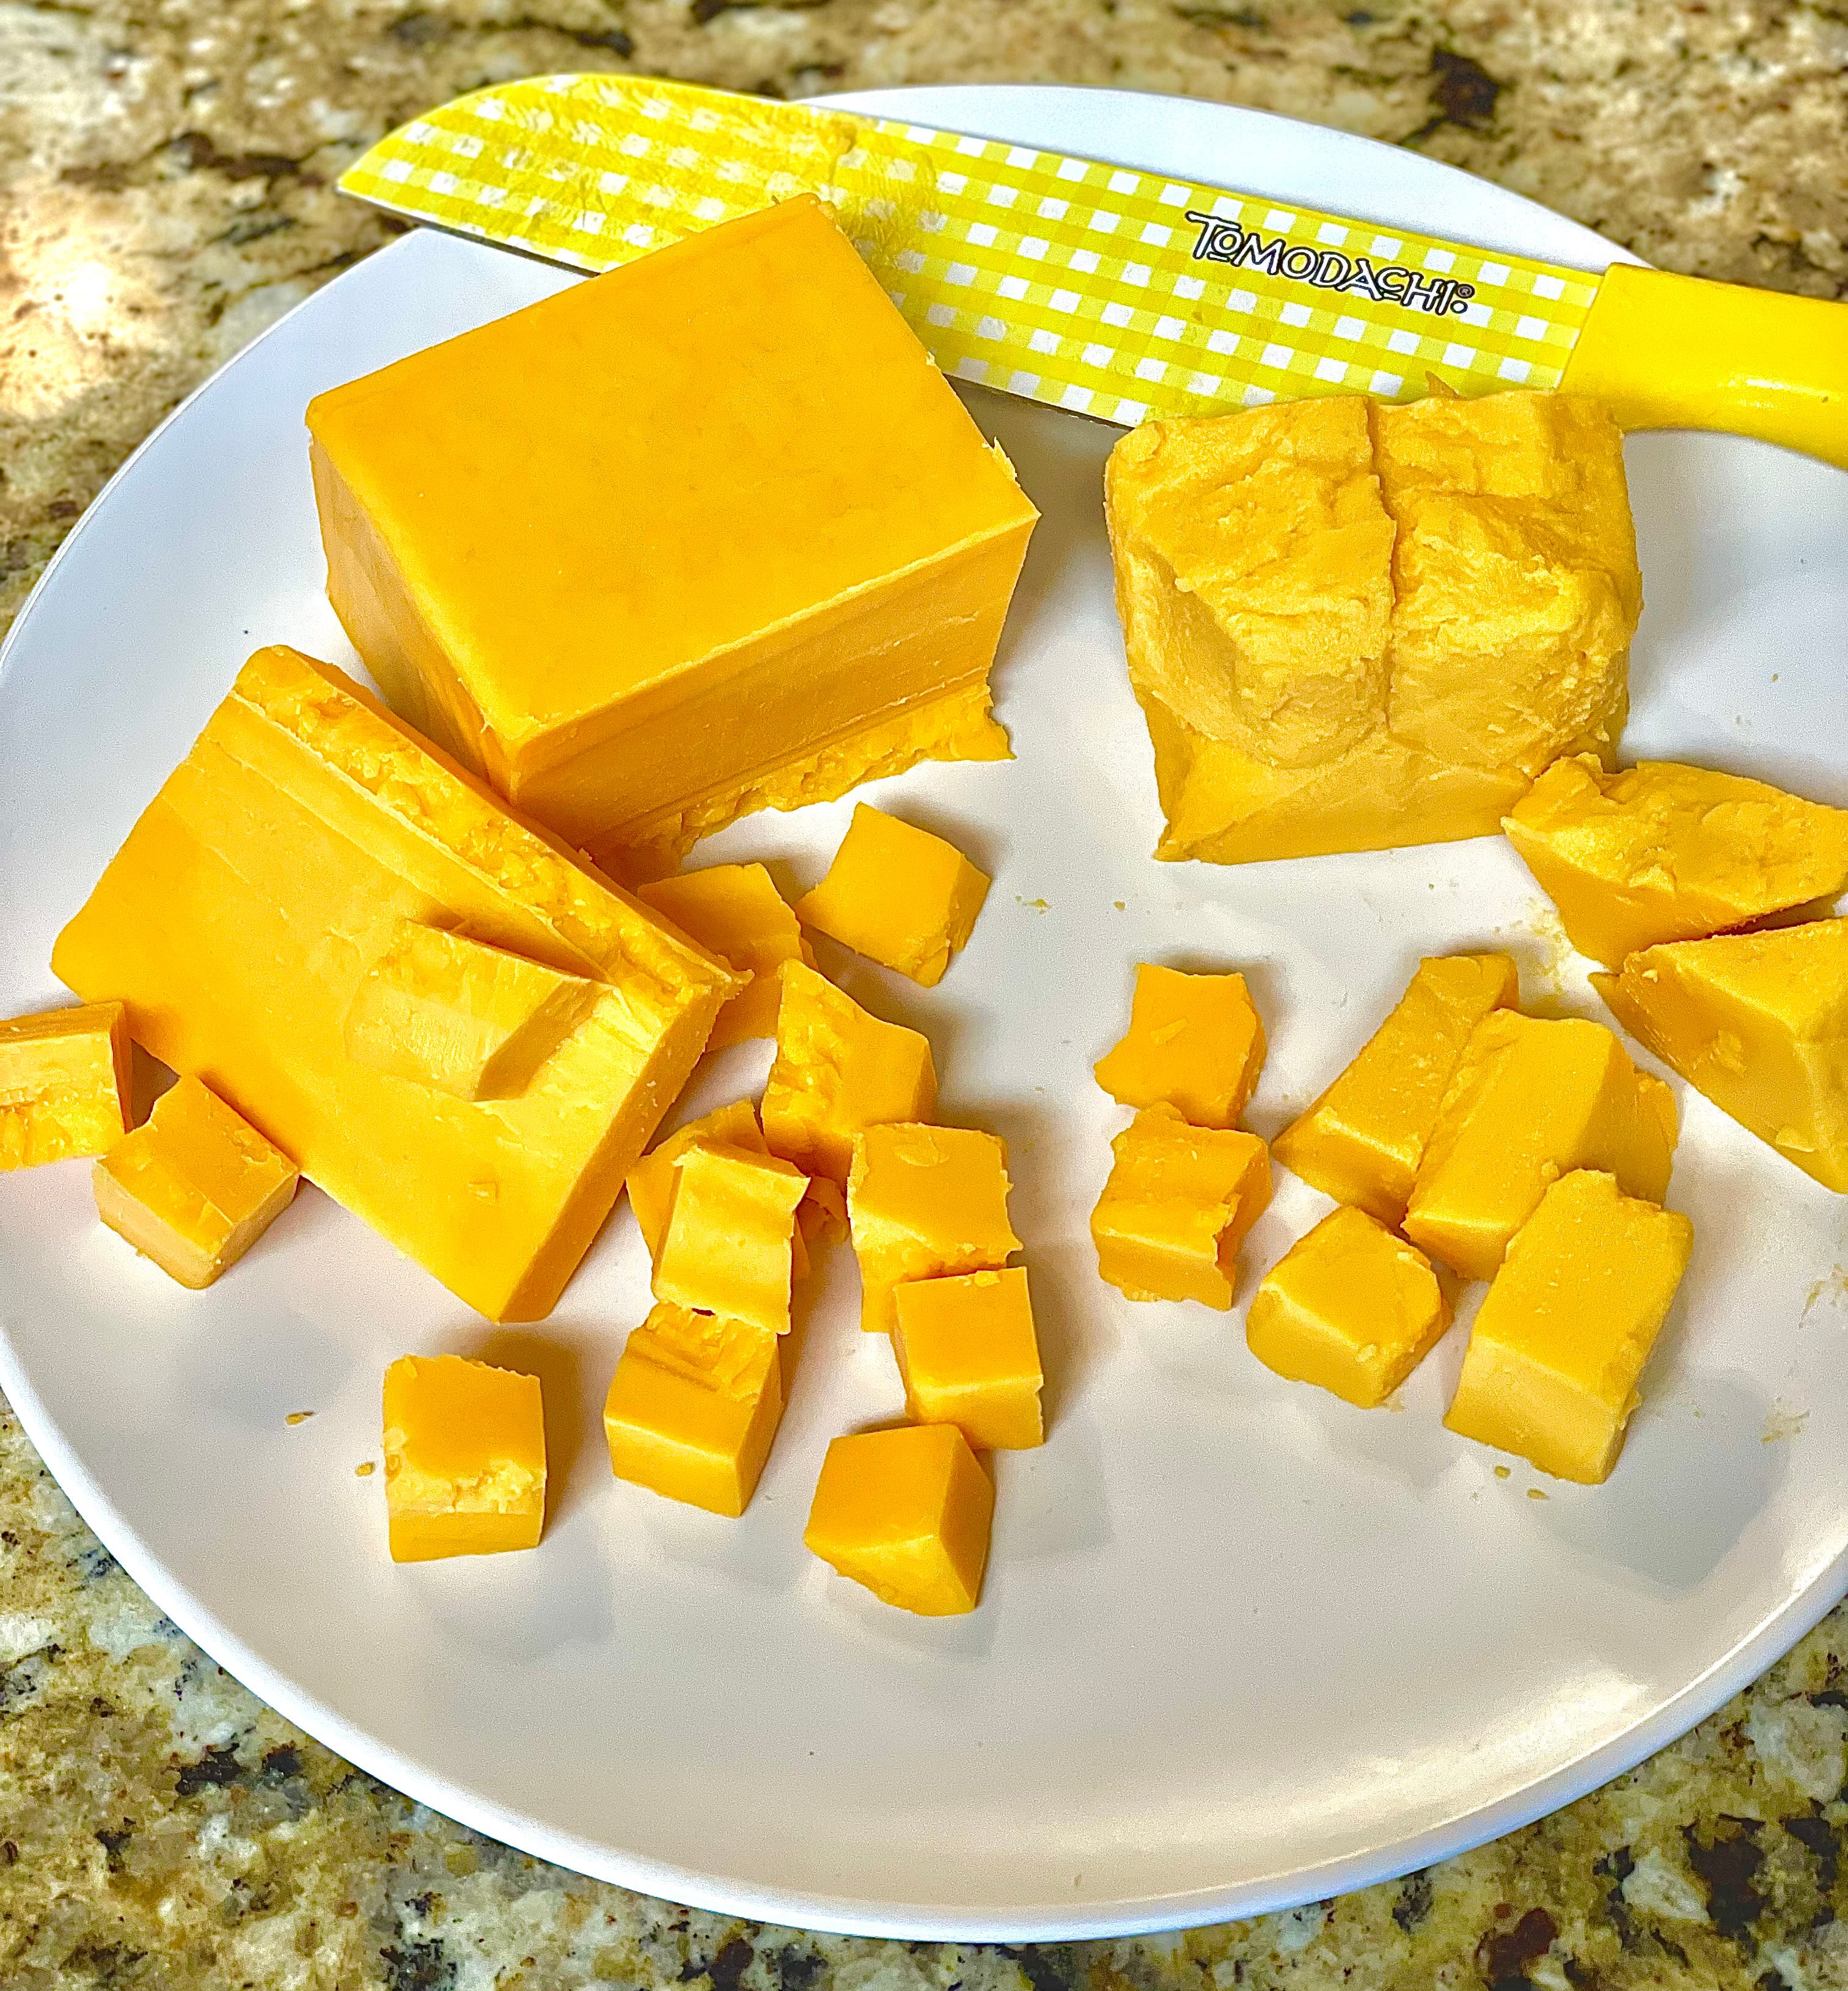
While the pasta is cooking, go ahead and prepare your cheeses. Cut into roughly 1x1 inch cubes. Leave about 15 cubes of your sharp cheddar cheese to the side. These will be used for the topping.
Around this time, your pasta should be cooked. Strain and leave to the side.
Now is the time to begin your cheese sauce! I start off by warming up my milk. Adding warm milk to your sauce helps it to thicken up faster and gain a creamier consistency. I simply pour the milk into a pouring measuring cup and stick it into the microwave for 3 minutes. (You could also warm your milk over the stove, stirring occasionally, making sure the bottom doesn’t burn.)
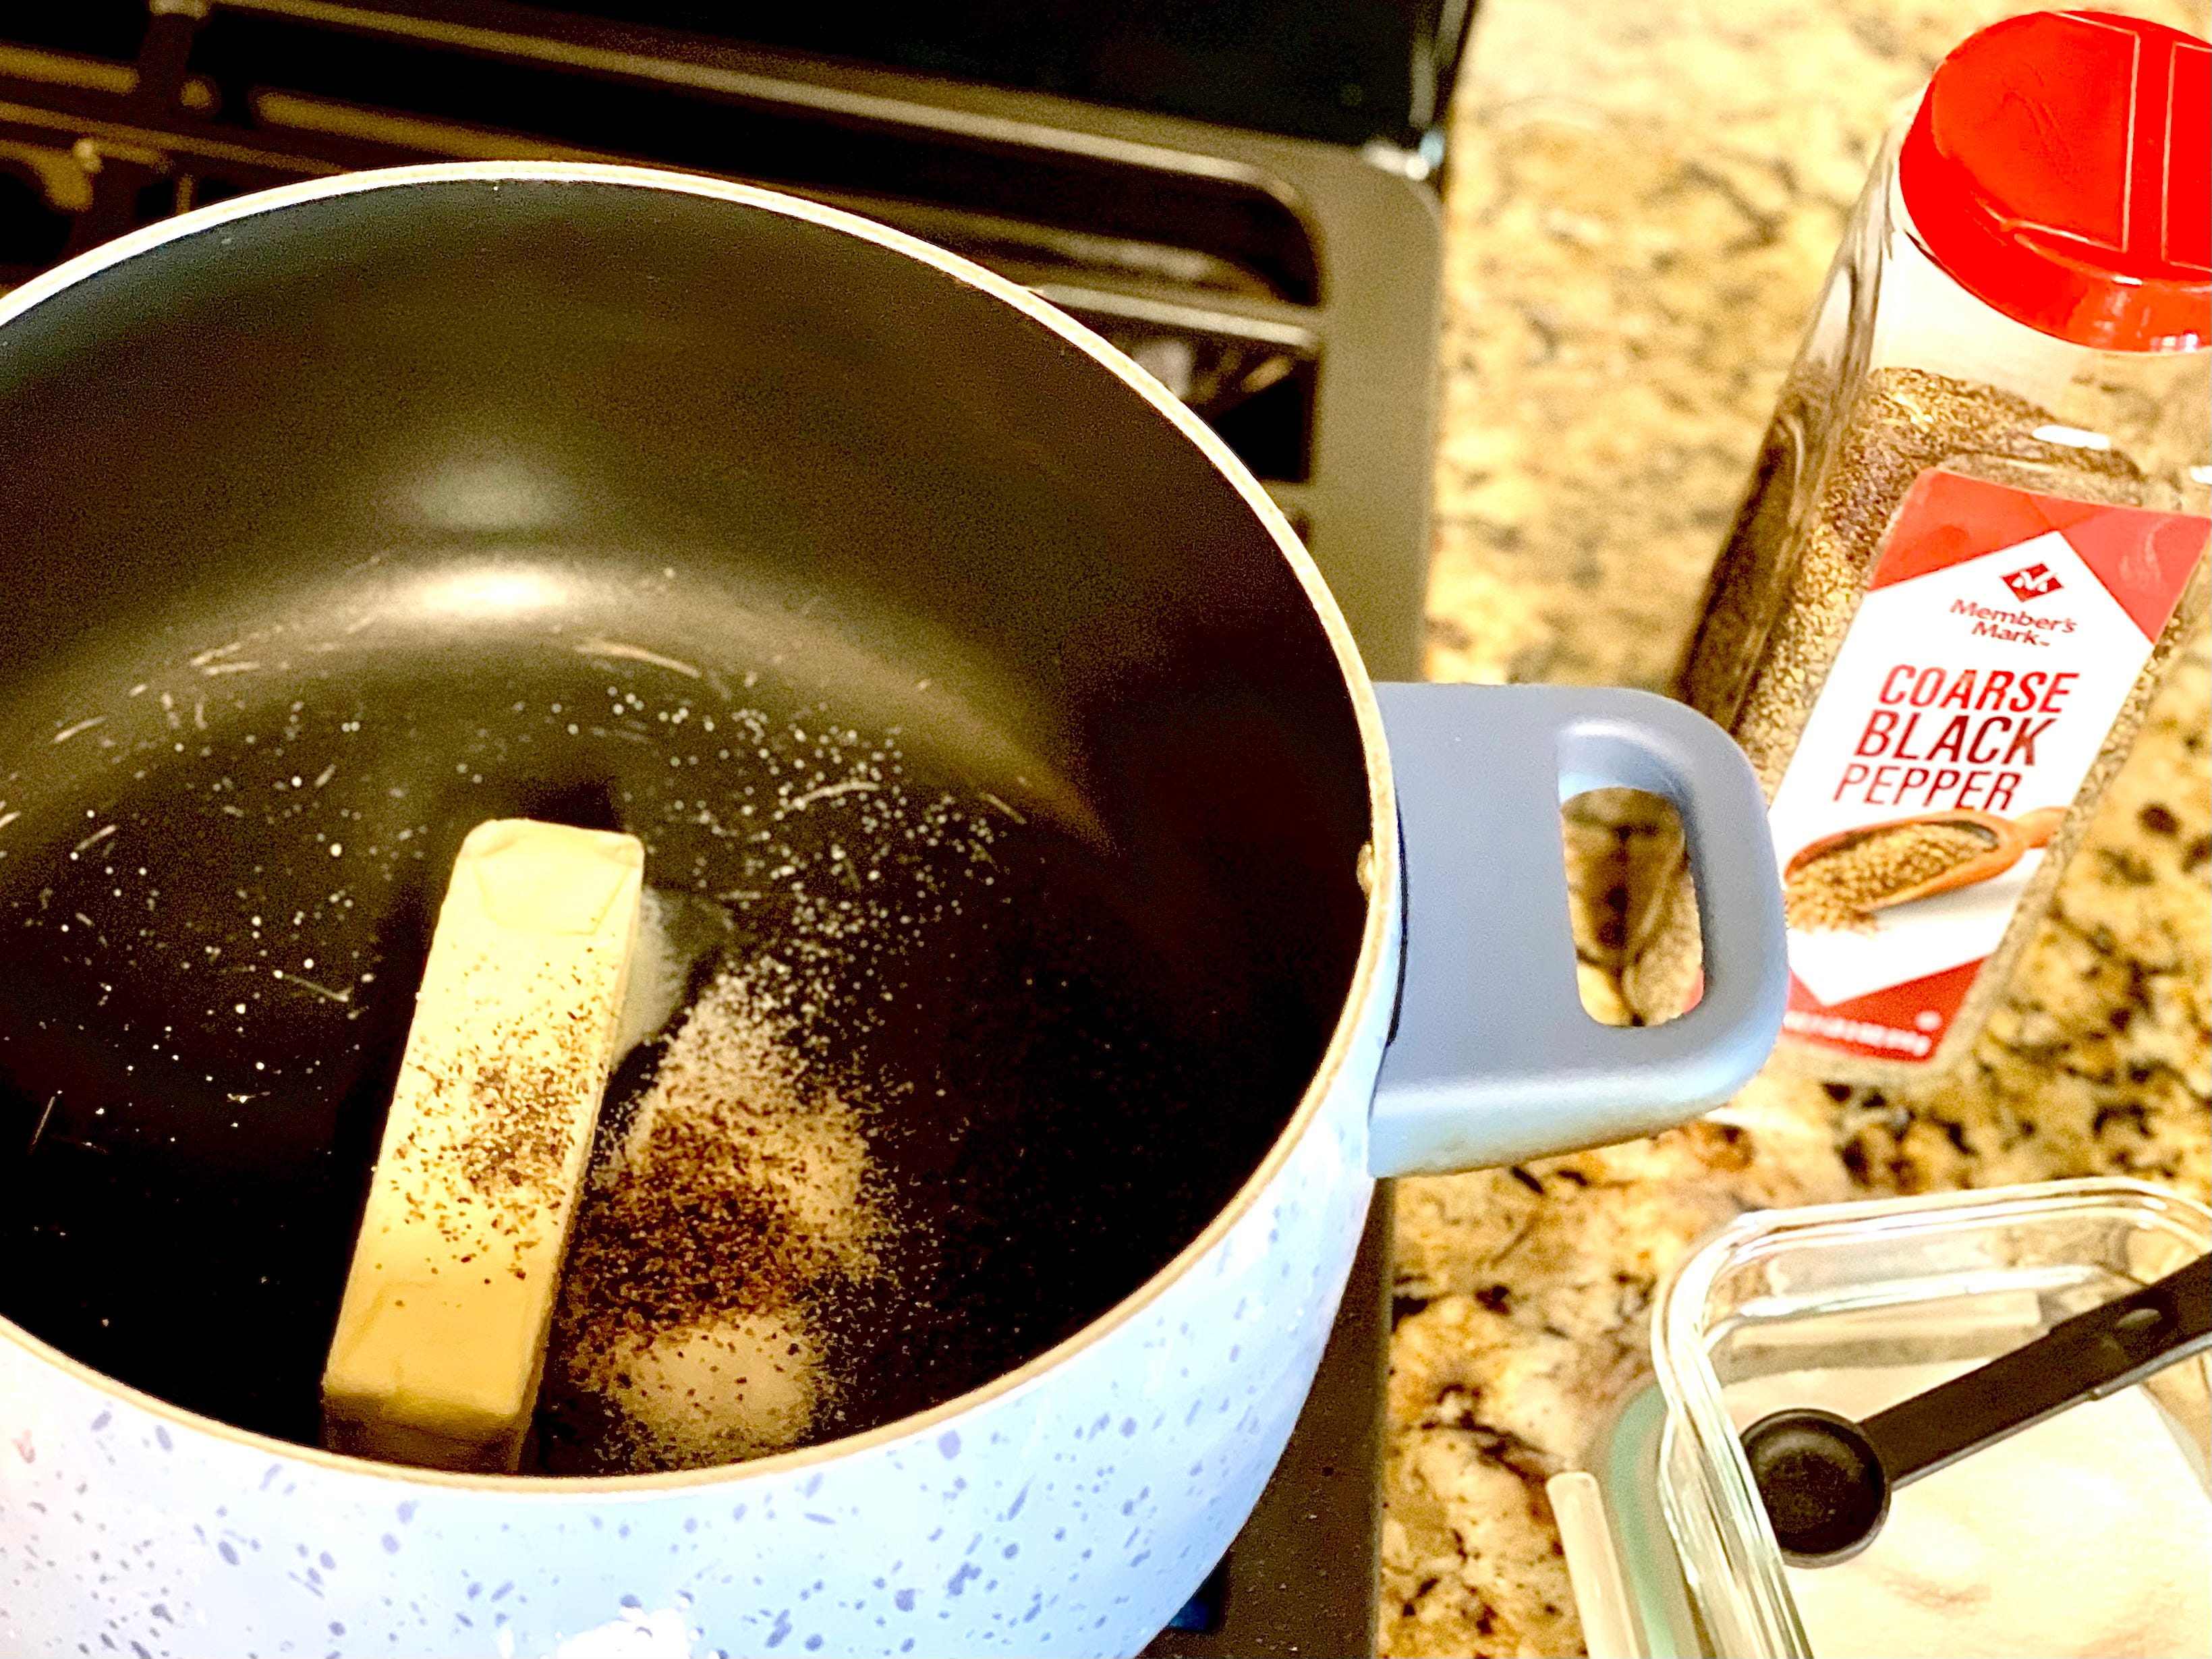
Preheat oven to 350 degrees. In a large saucepan, over medium heat, melt together butter, salt, and pepper.
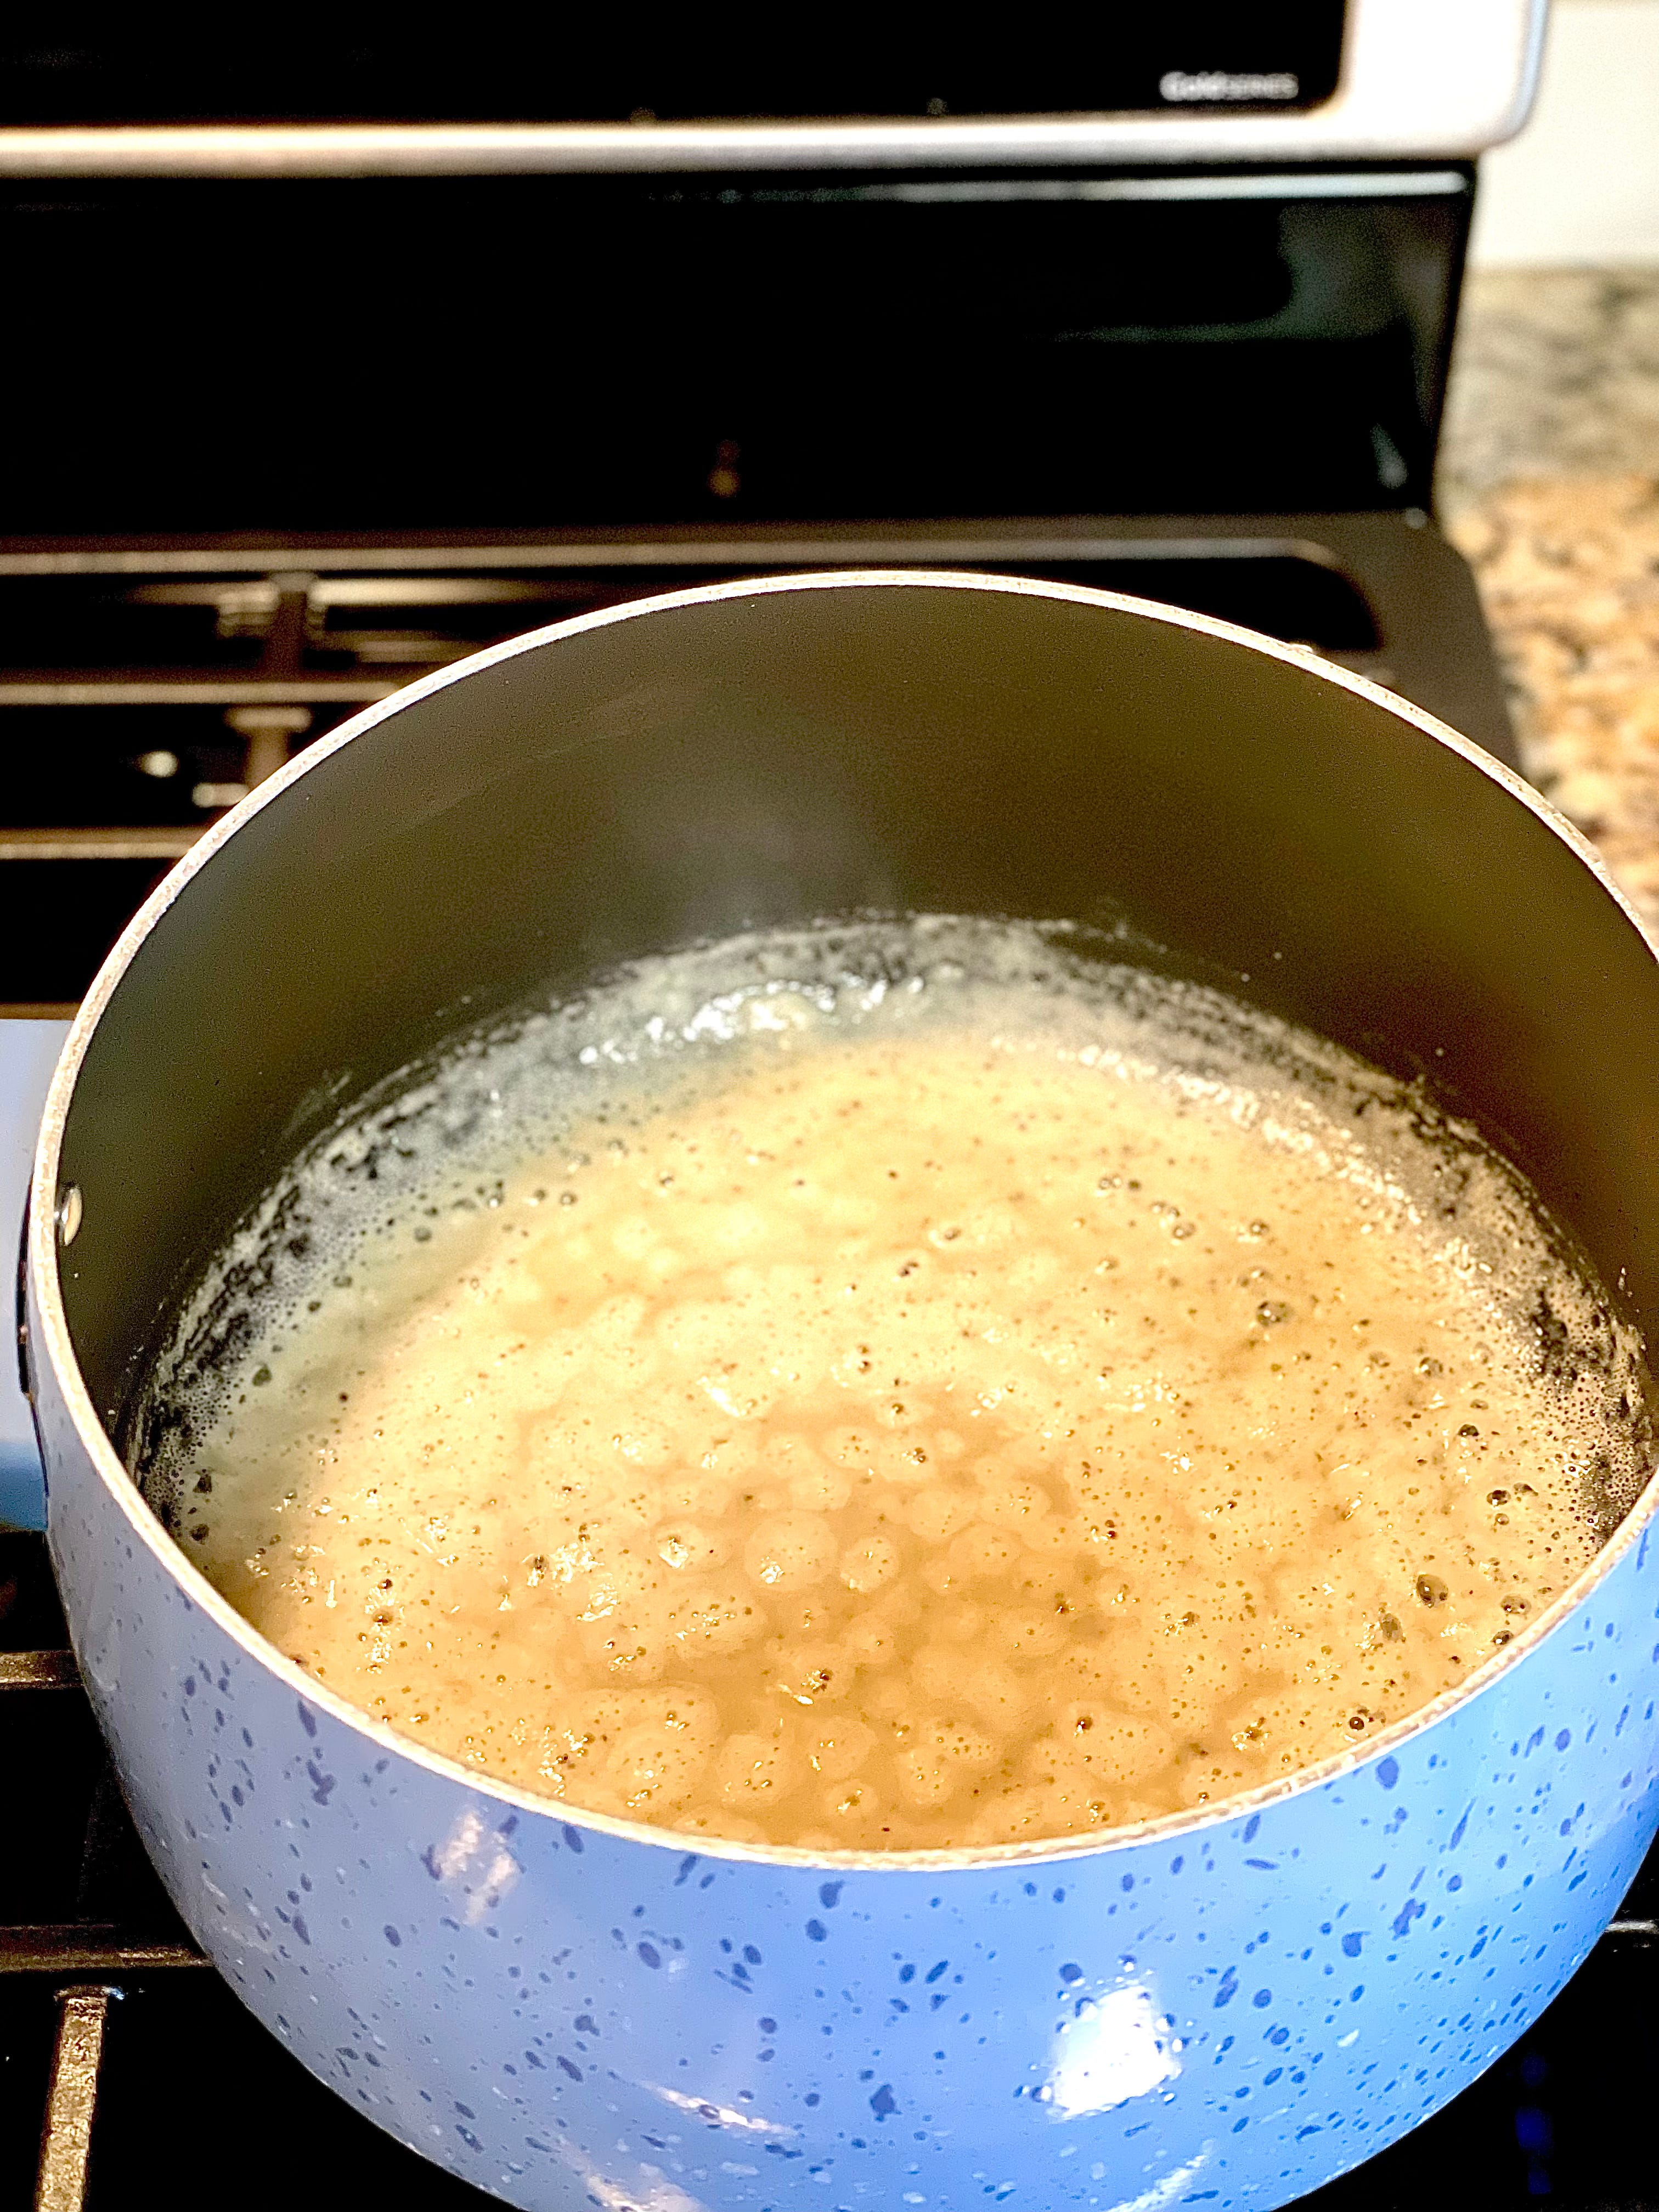
Add flour, stir until just combined, and let simmer for 1 minute. You are essentially creating a roux. This sauce is basically a cheesy gravy! And don’t be alarmed when your roux starts looking somewhat brownish in color. It’s not burnt, I promise! That color is coming from the pepper.
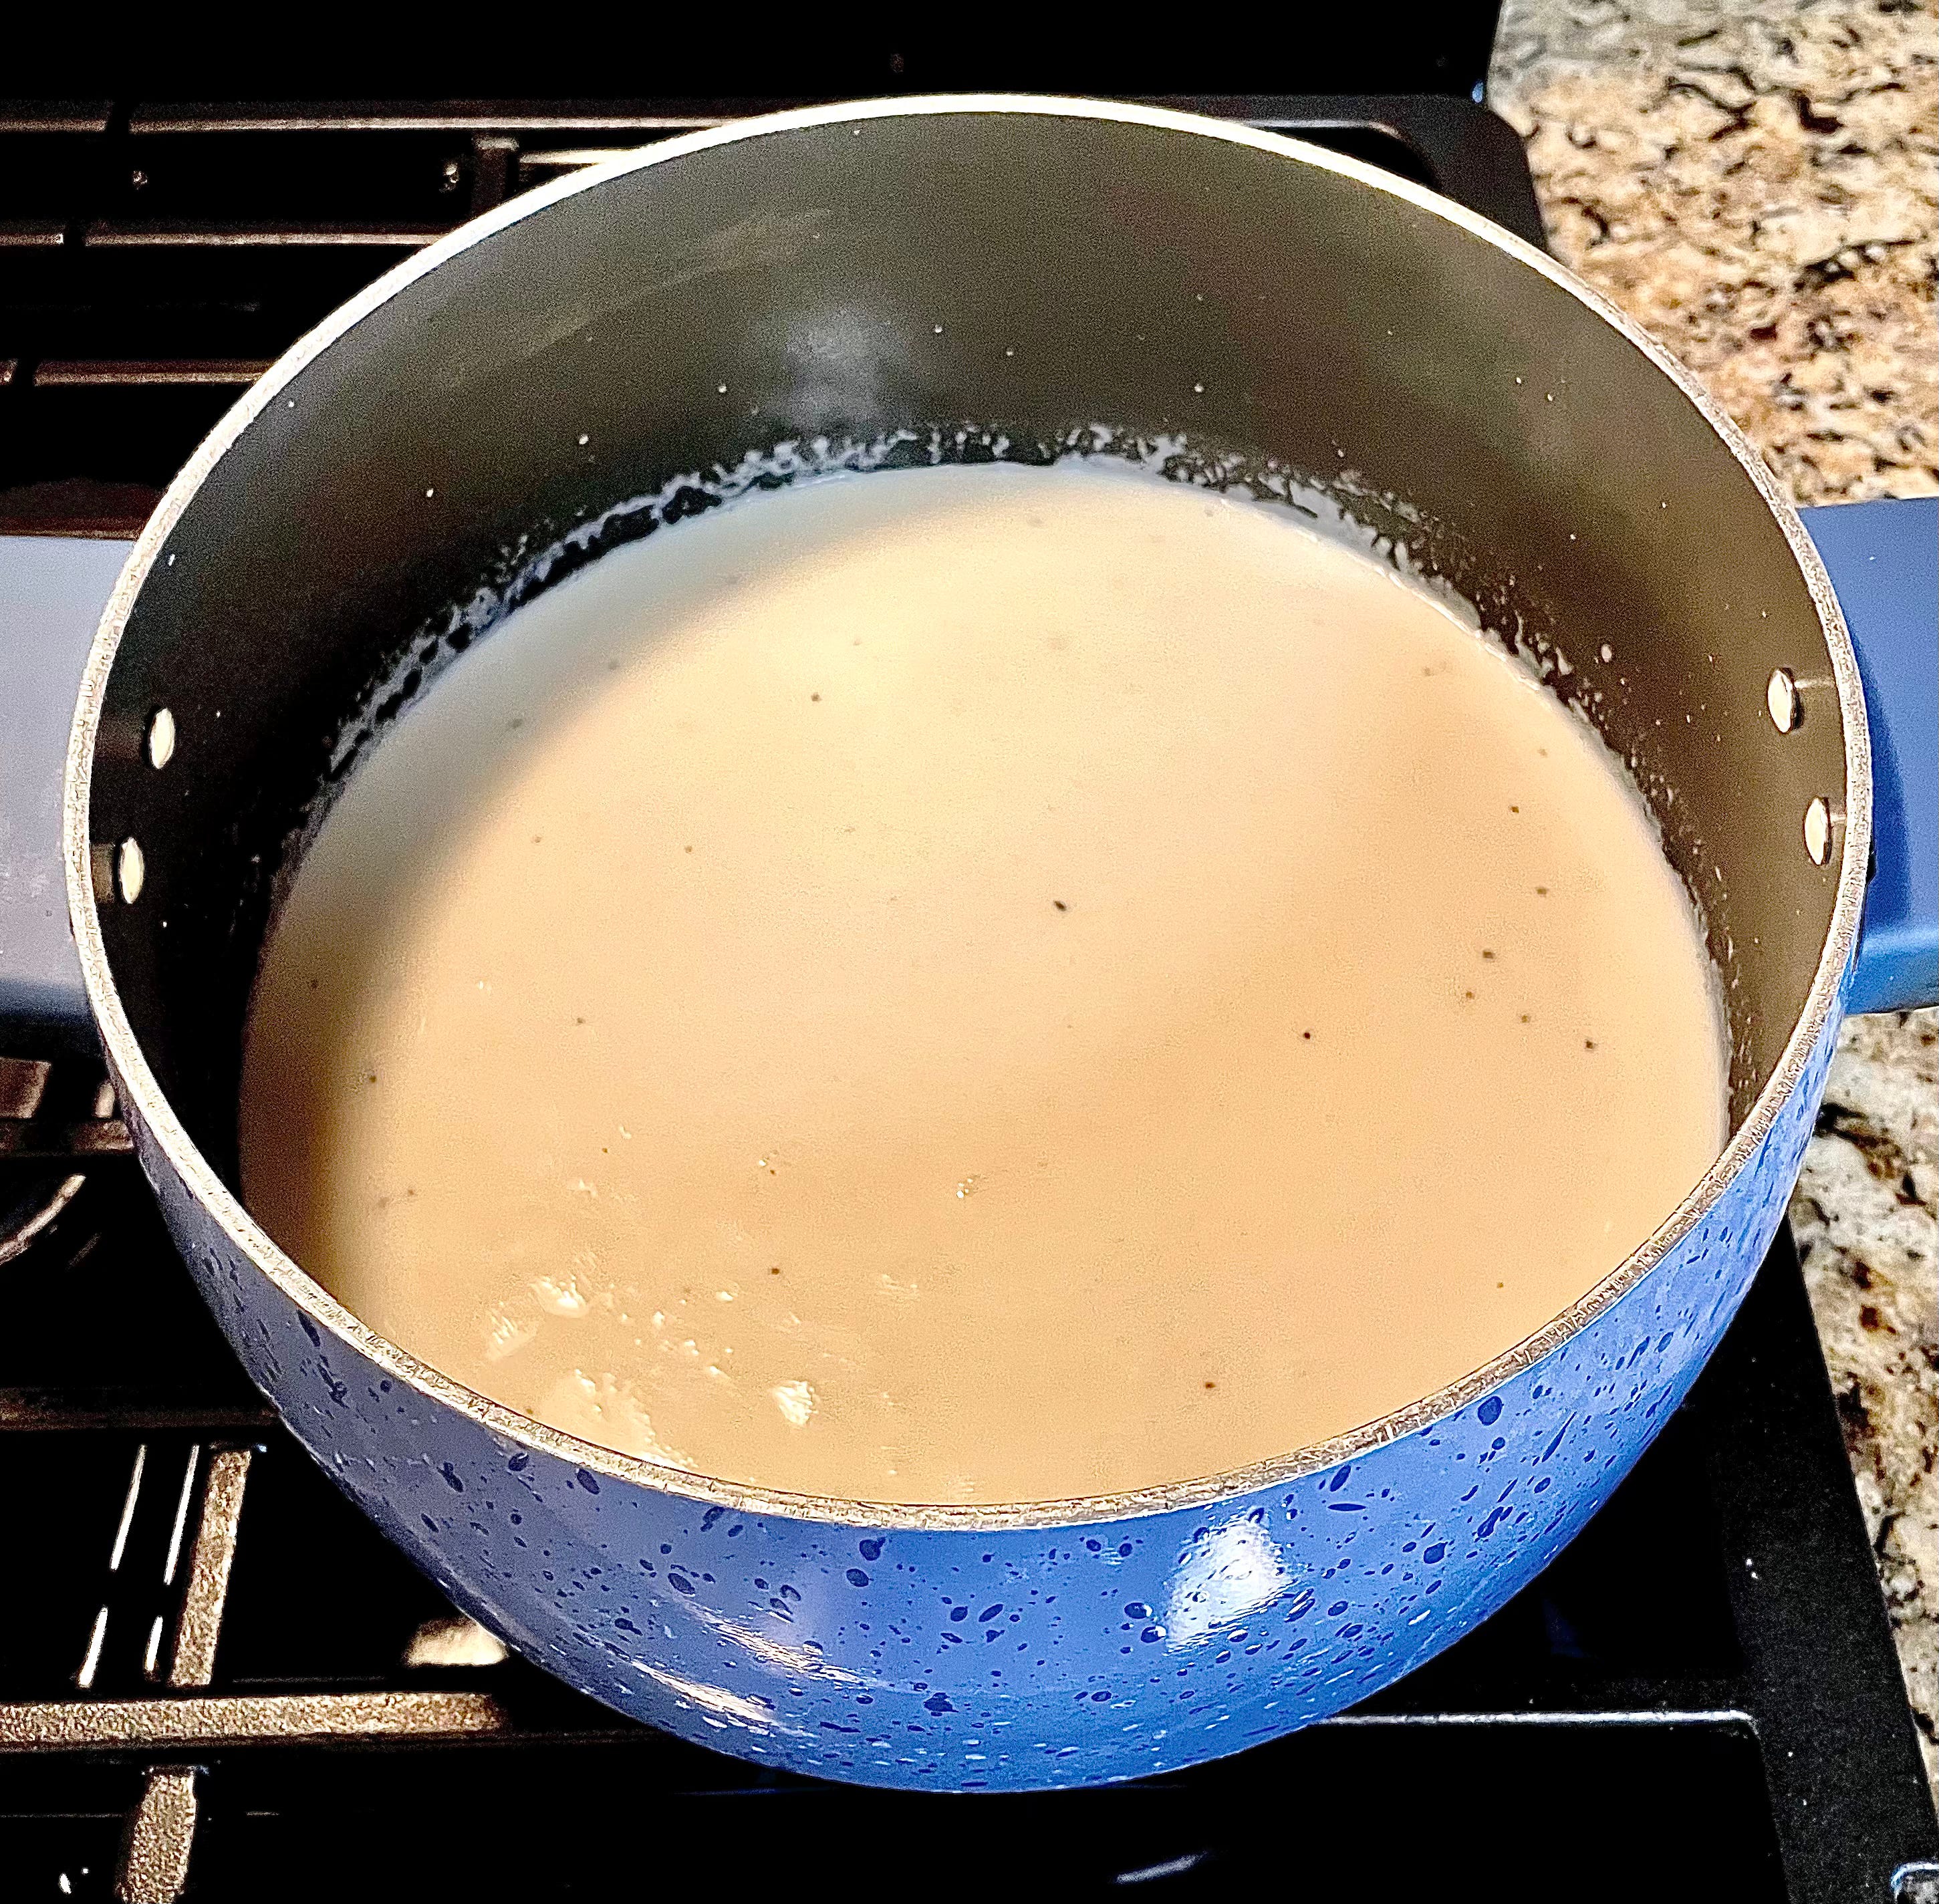
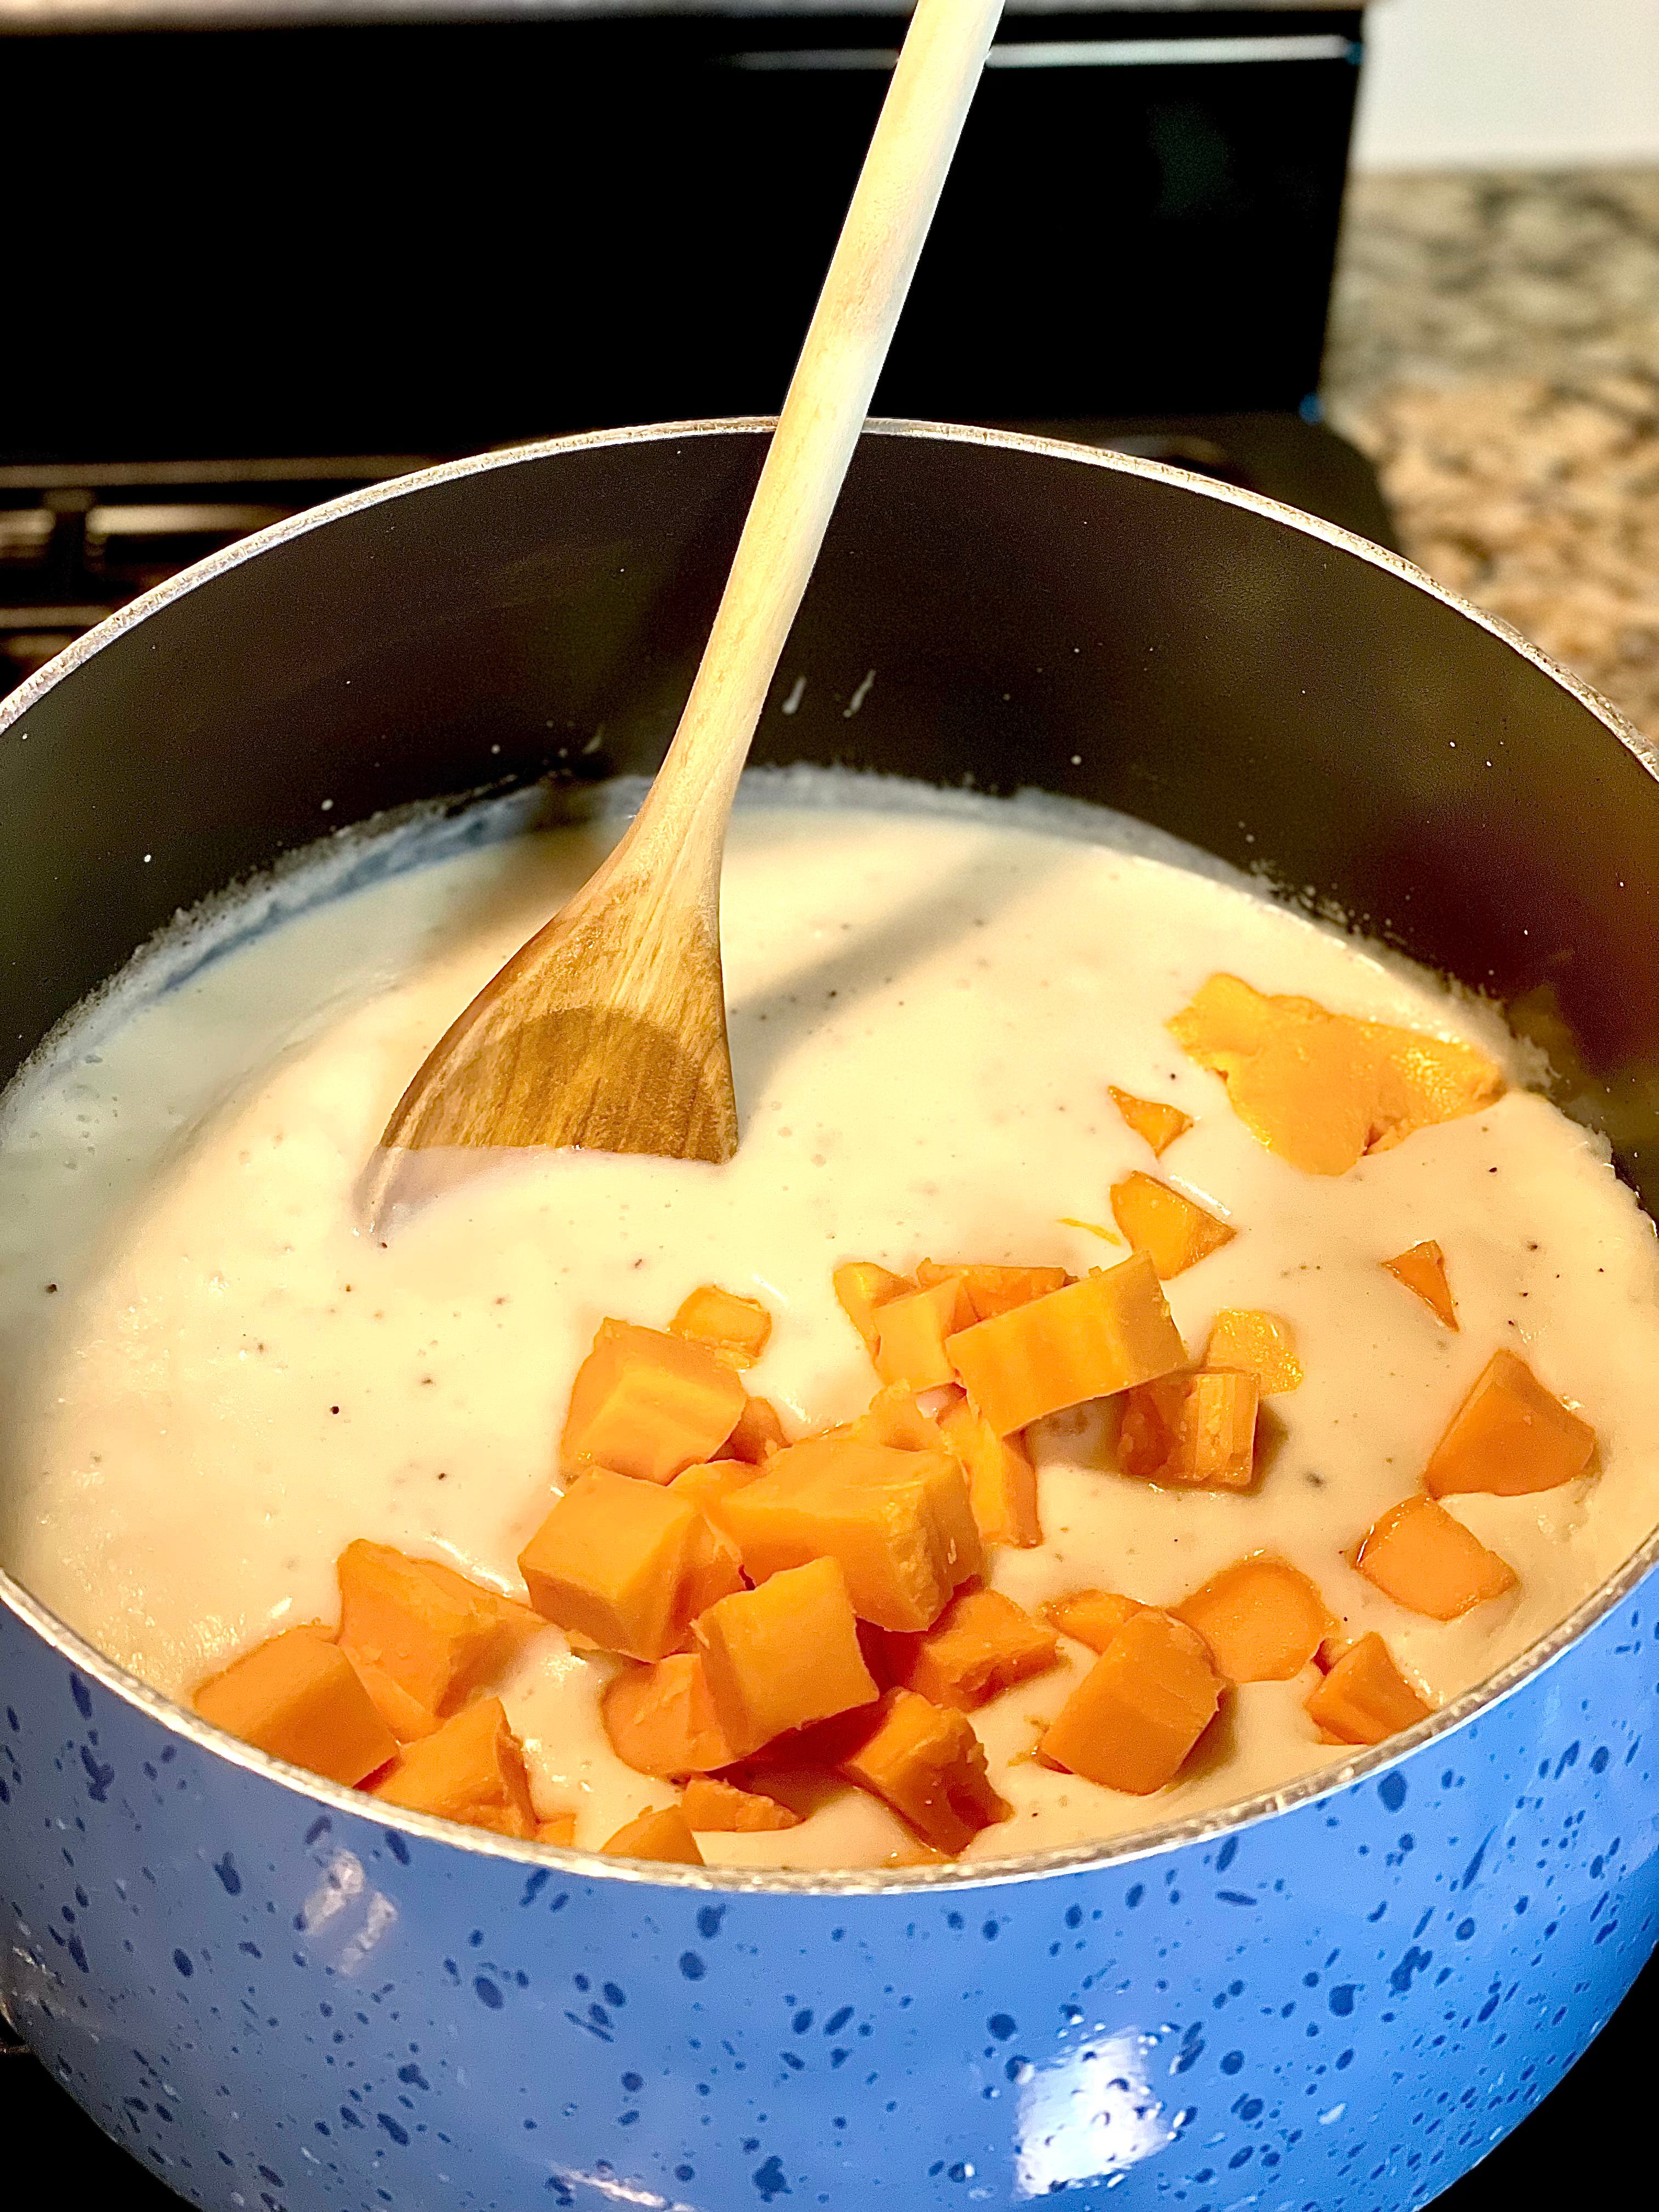
Next, add your warm milk and water. Raise your temperature to high heat and whisk until flour is evenly distributed into the liquid. Stir occasionally, making sure to scrape the bottom of your pan to insure the sauce doesn’t get burnt. Let your sauce cook until it thickens, just like gravy. Once it has simmered in thick, slow bubbles for a couple of minutes, you can add all of your cheese.
I use the wooden spoon from my pasta to stir in the cheese. You can use your whisk, but I find that the cheese simply gets stuck. Stir until completely melted.
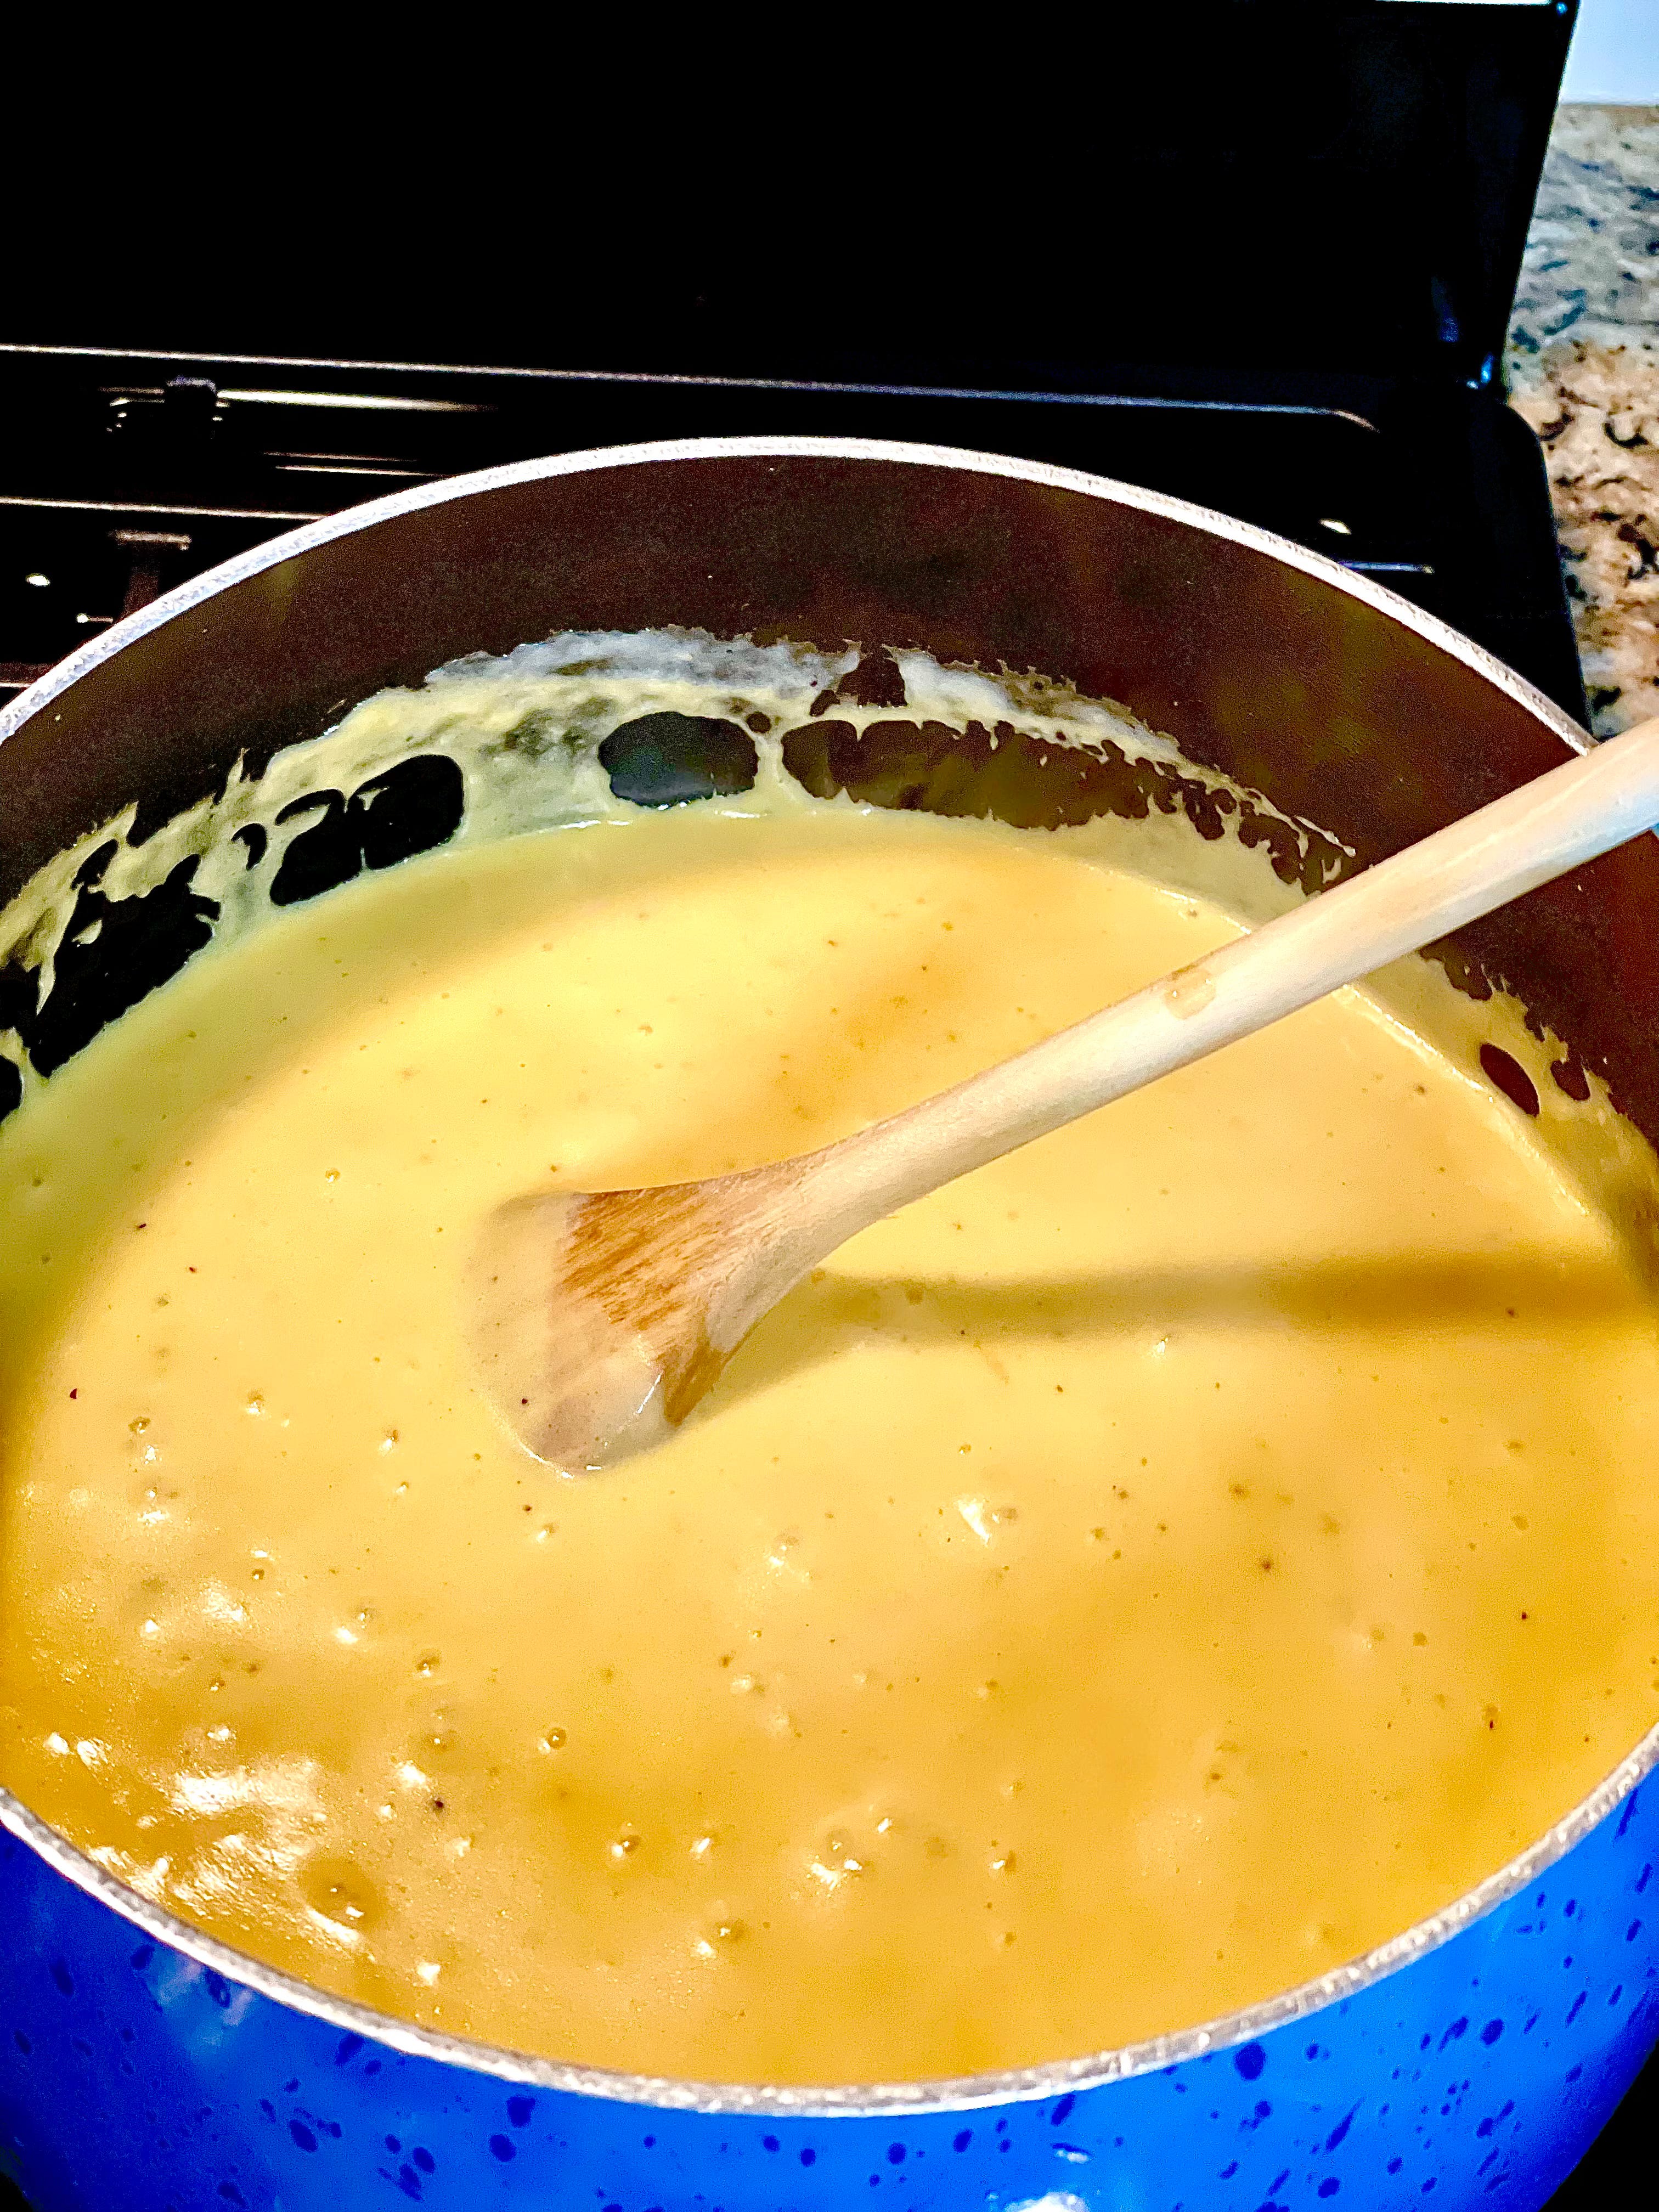
Once your cheese is all mixed in, this is what your sauce will look like. Incredible, huh? And what did I tell ya? It really is a cheese gravy!
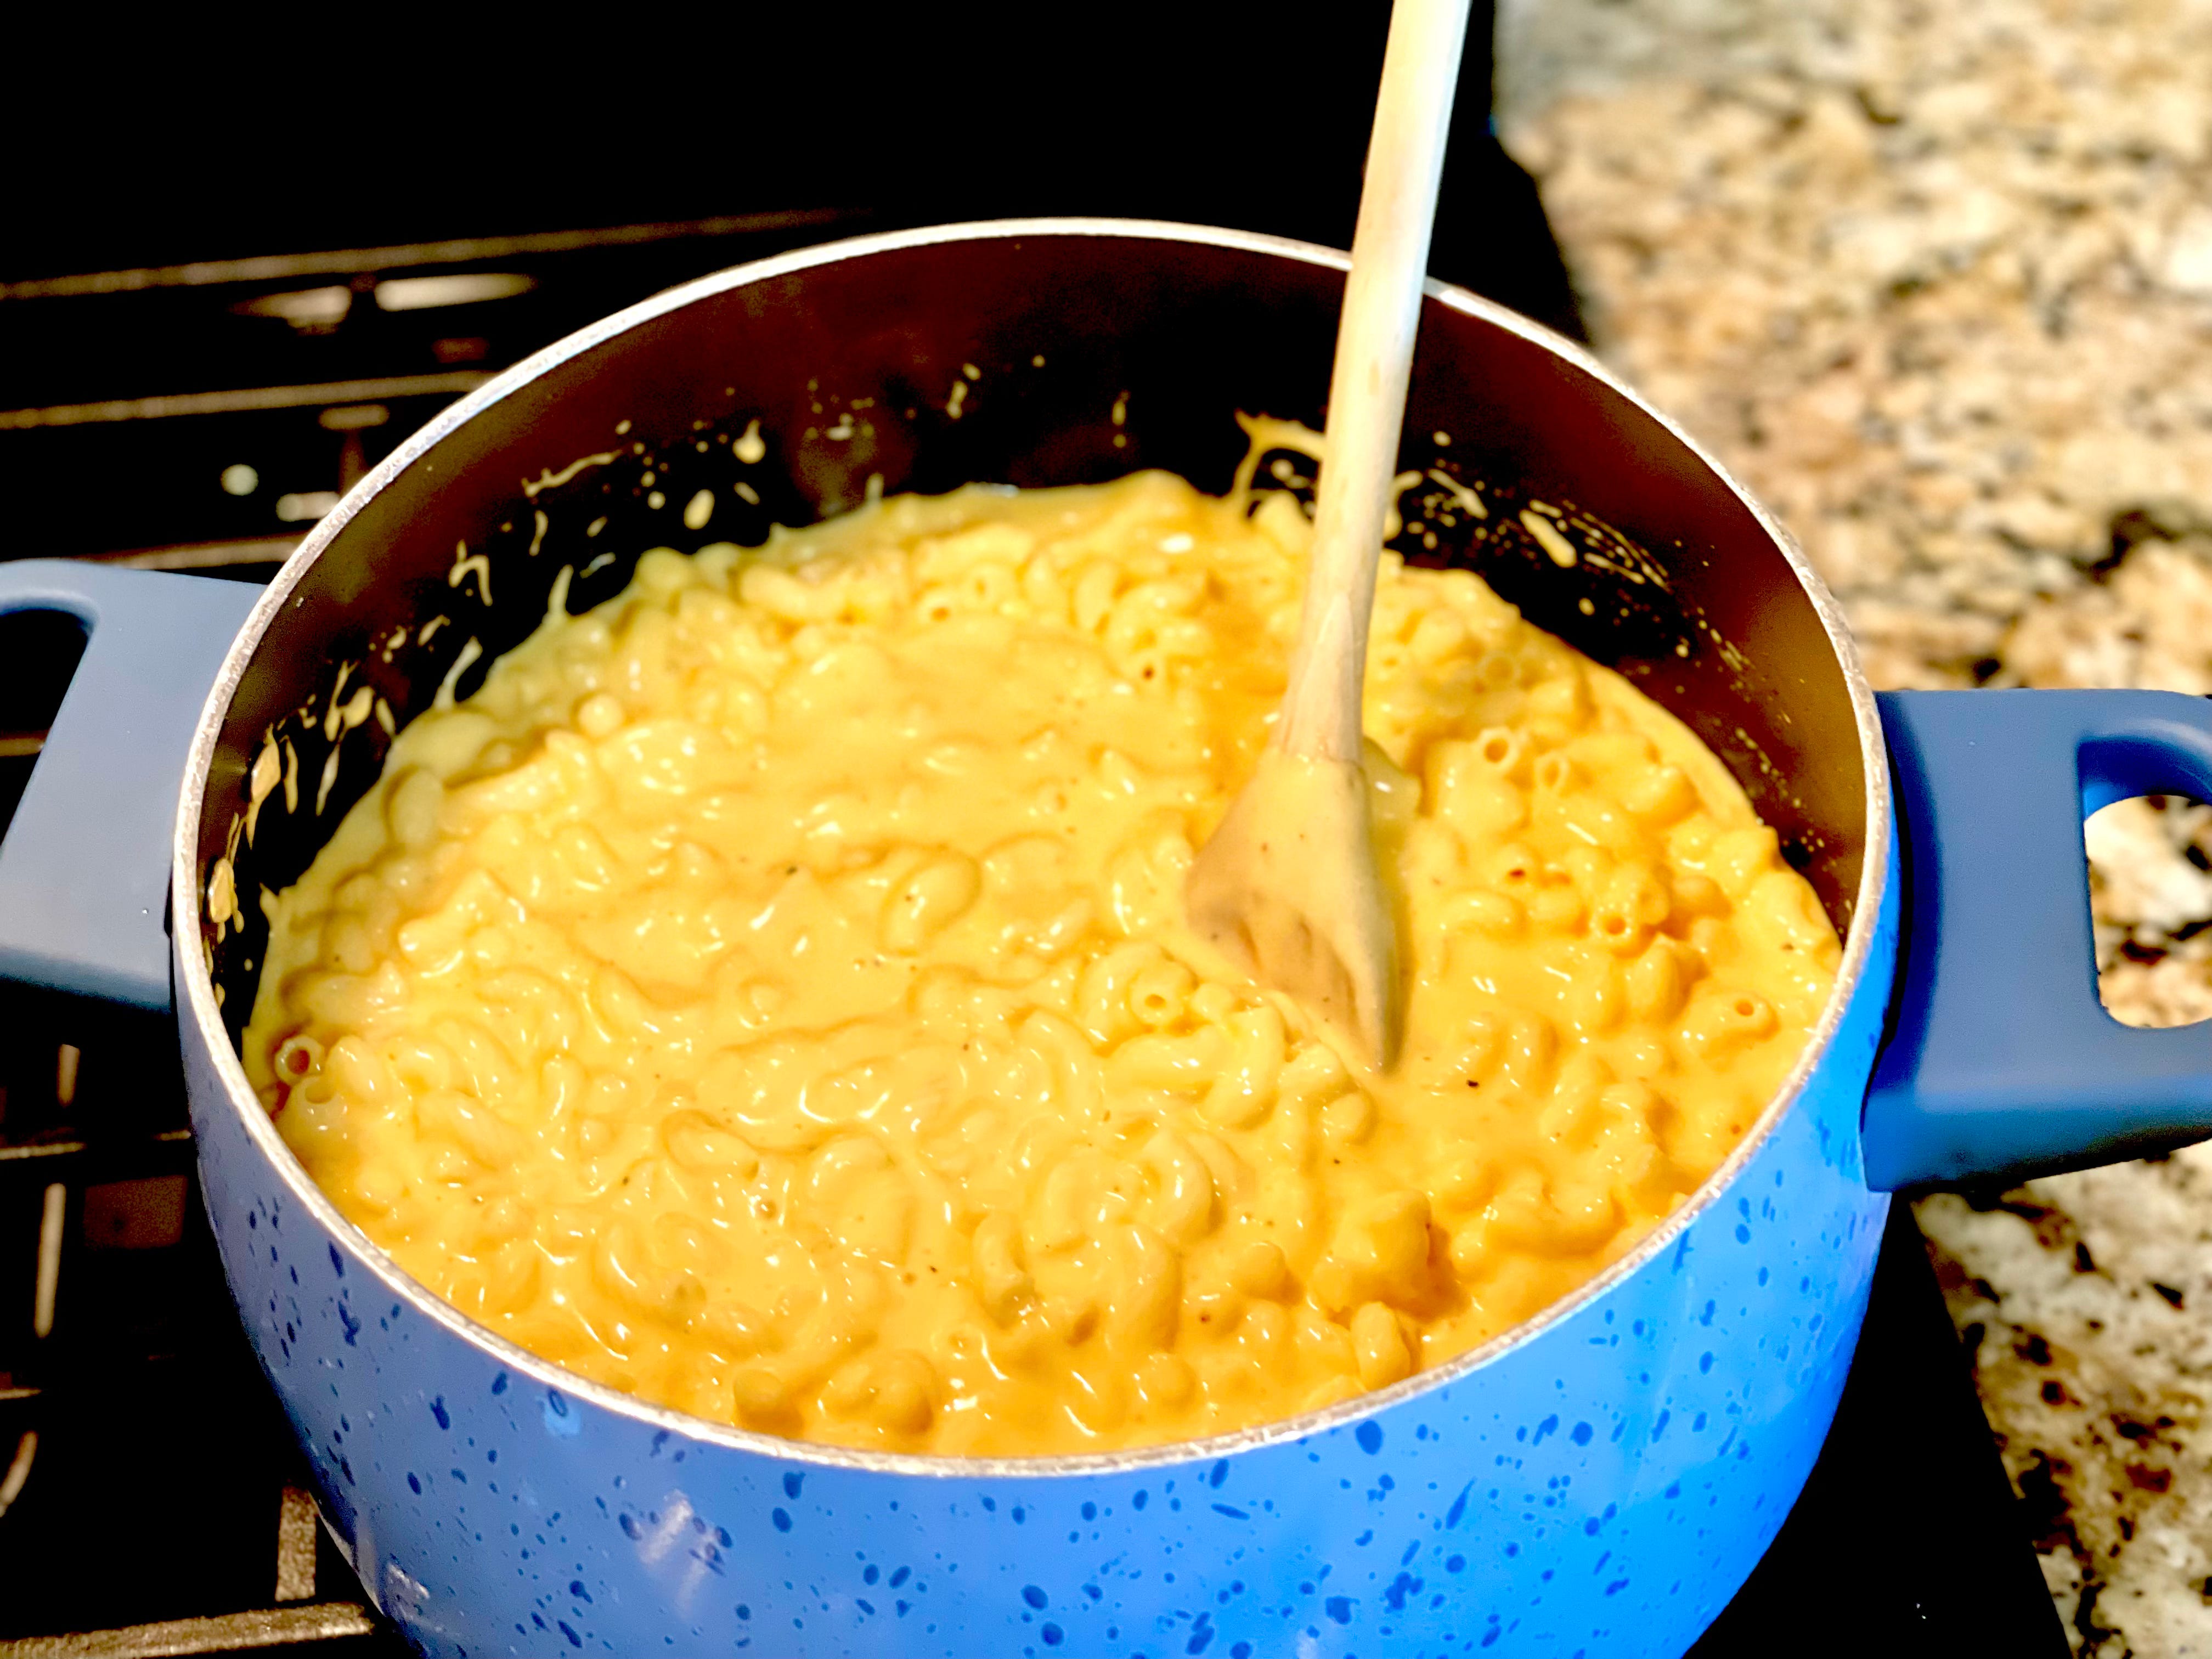
Now, stir in all your cooked pasta.
Grease a 9x13 inch pan and pour in your pasta. (Be careful, because the handles are quite hot. I wear some oven mitts and turn the pan at an angle, letting gravity take over and plop the pasta into the dish. Then whatever doesn’t come out, I spoon out.) If you’re anything like me, you will now be licking the spoon. Yum.
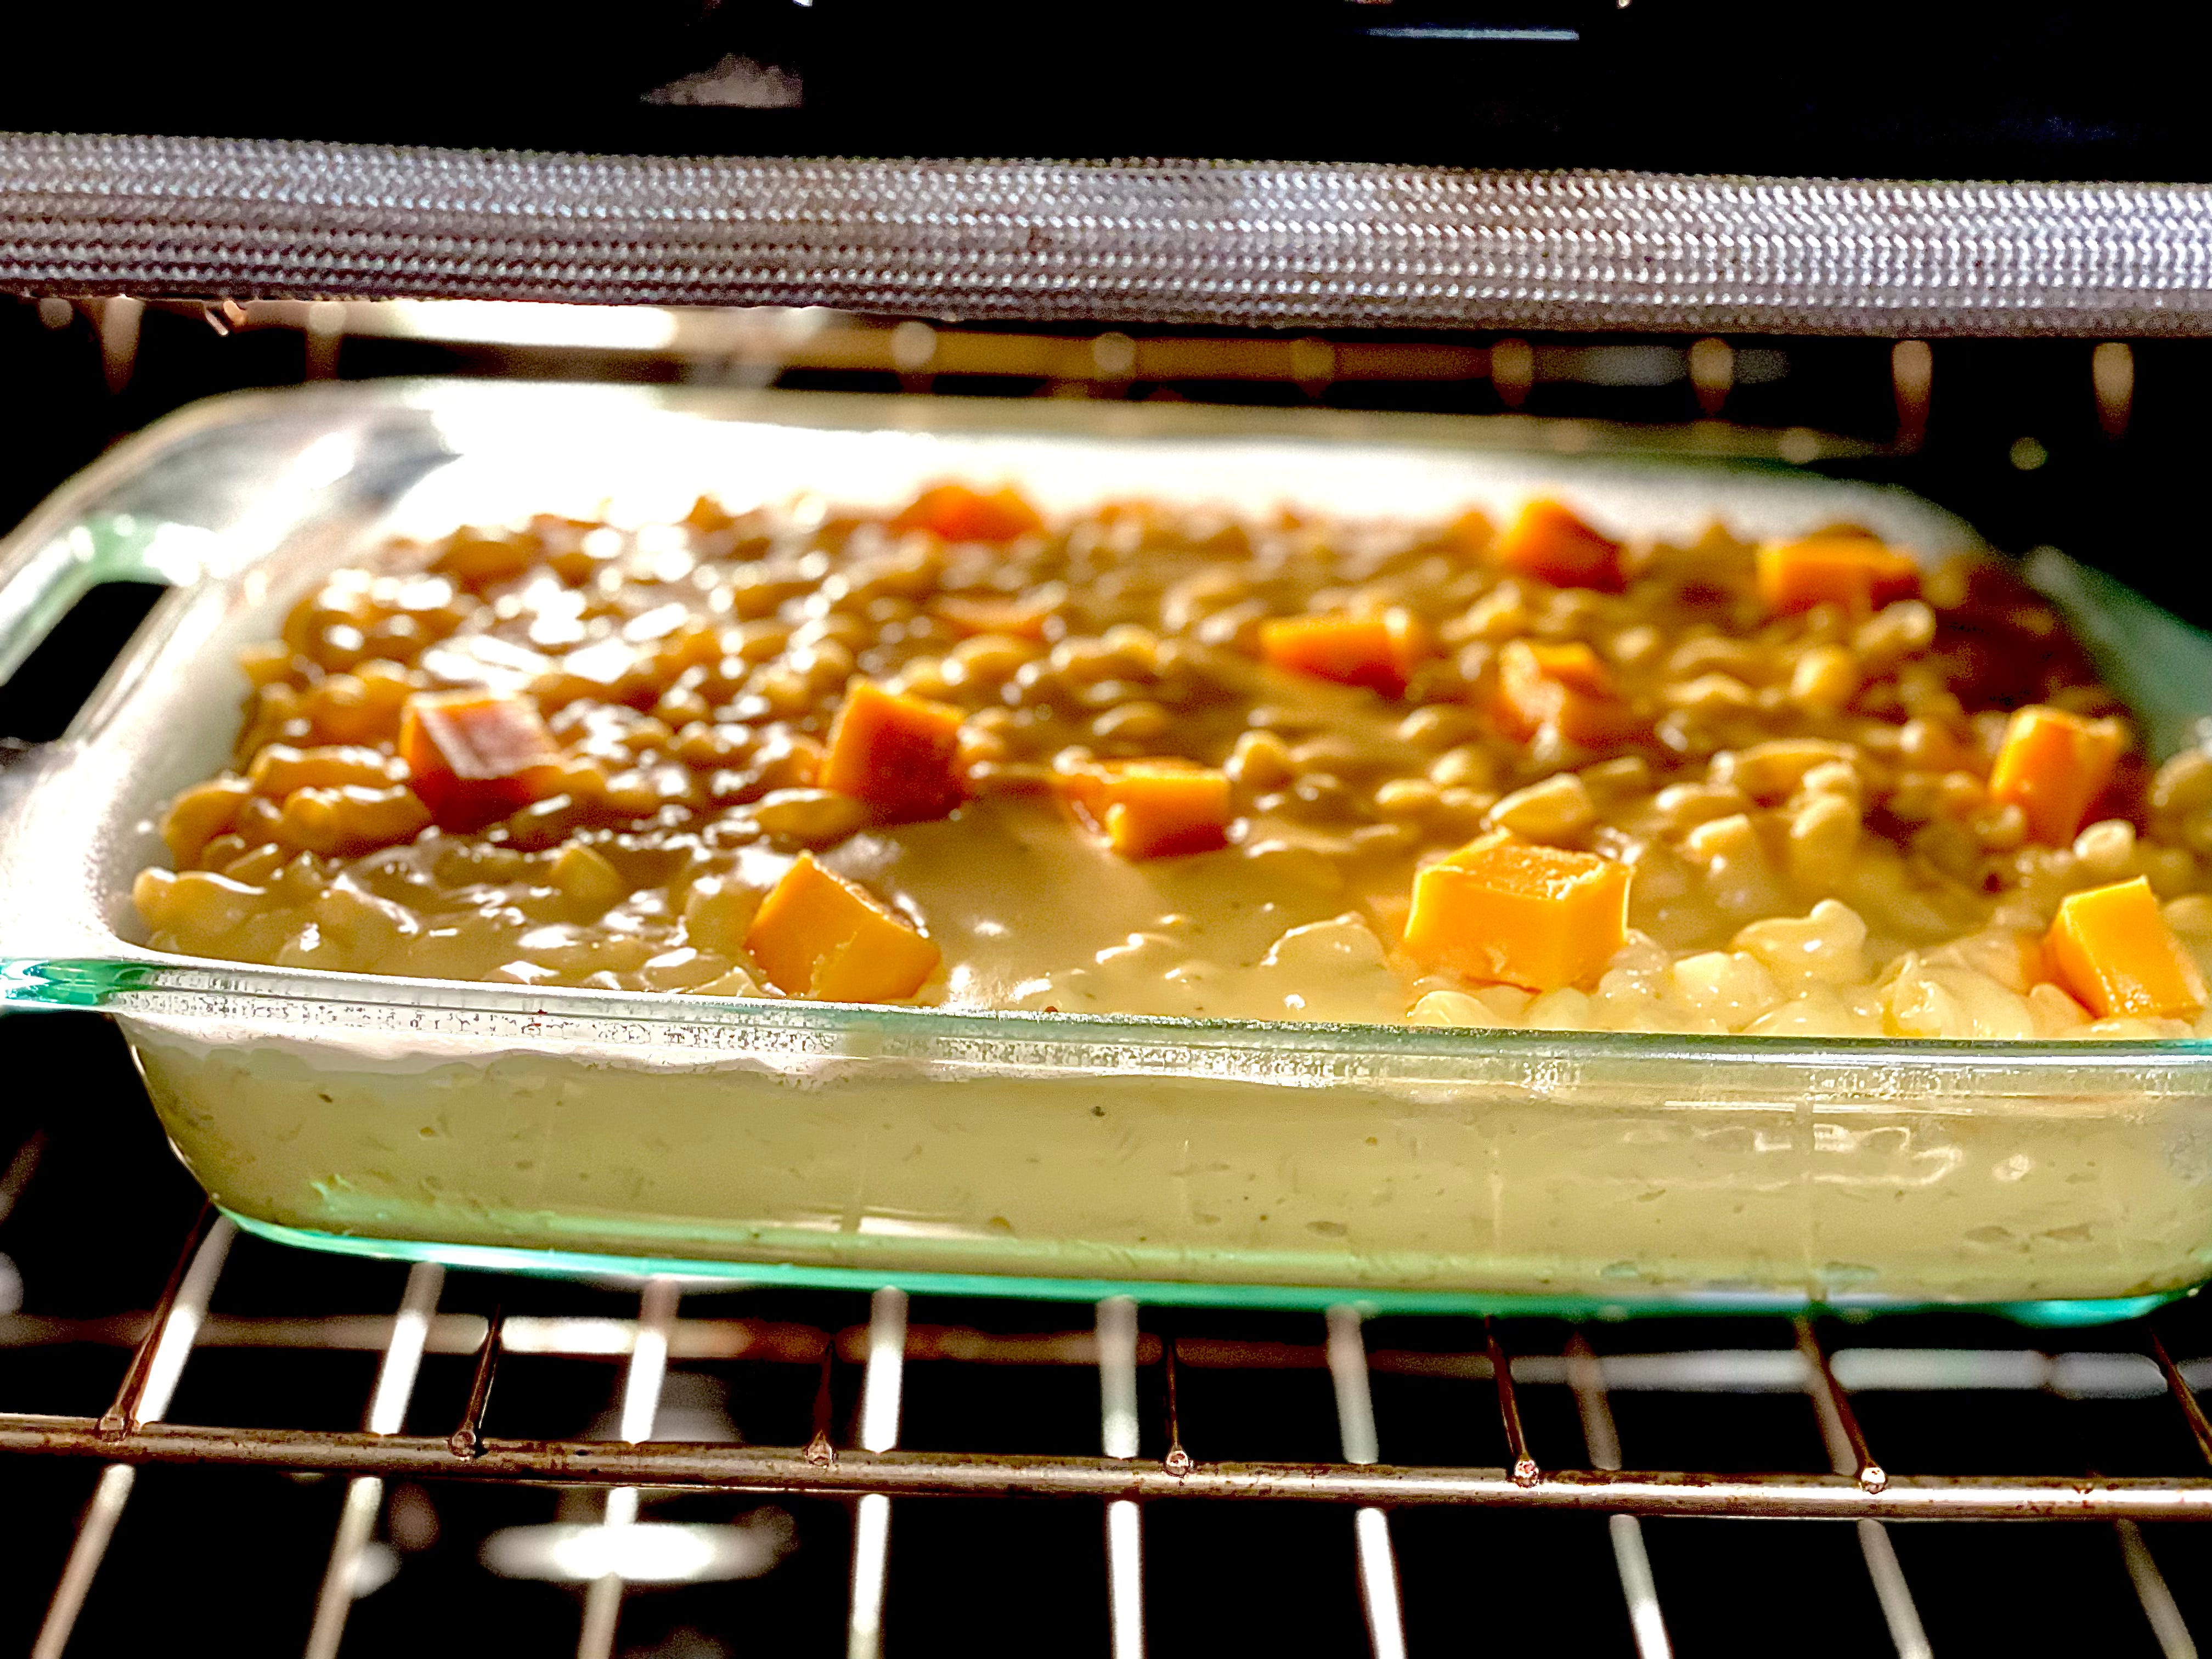
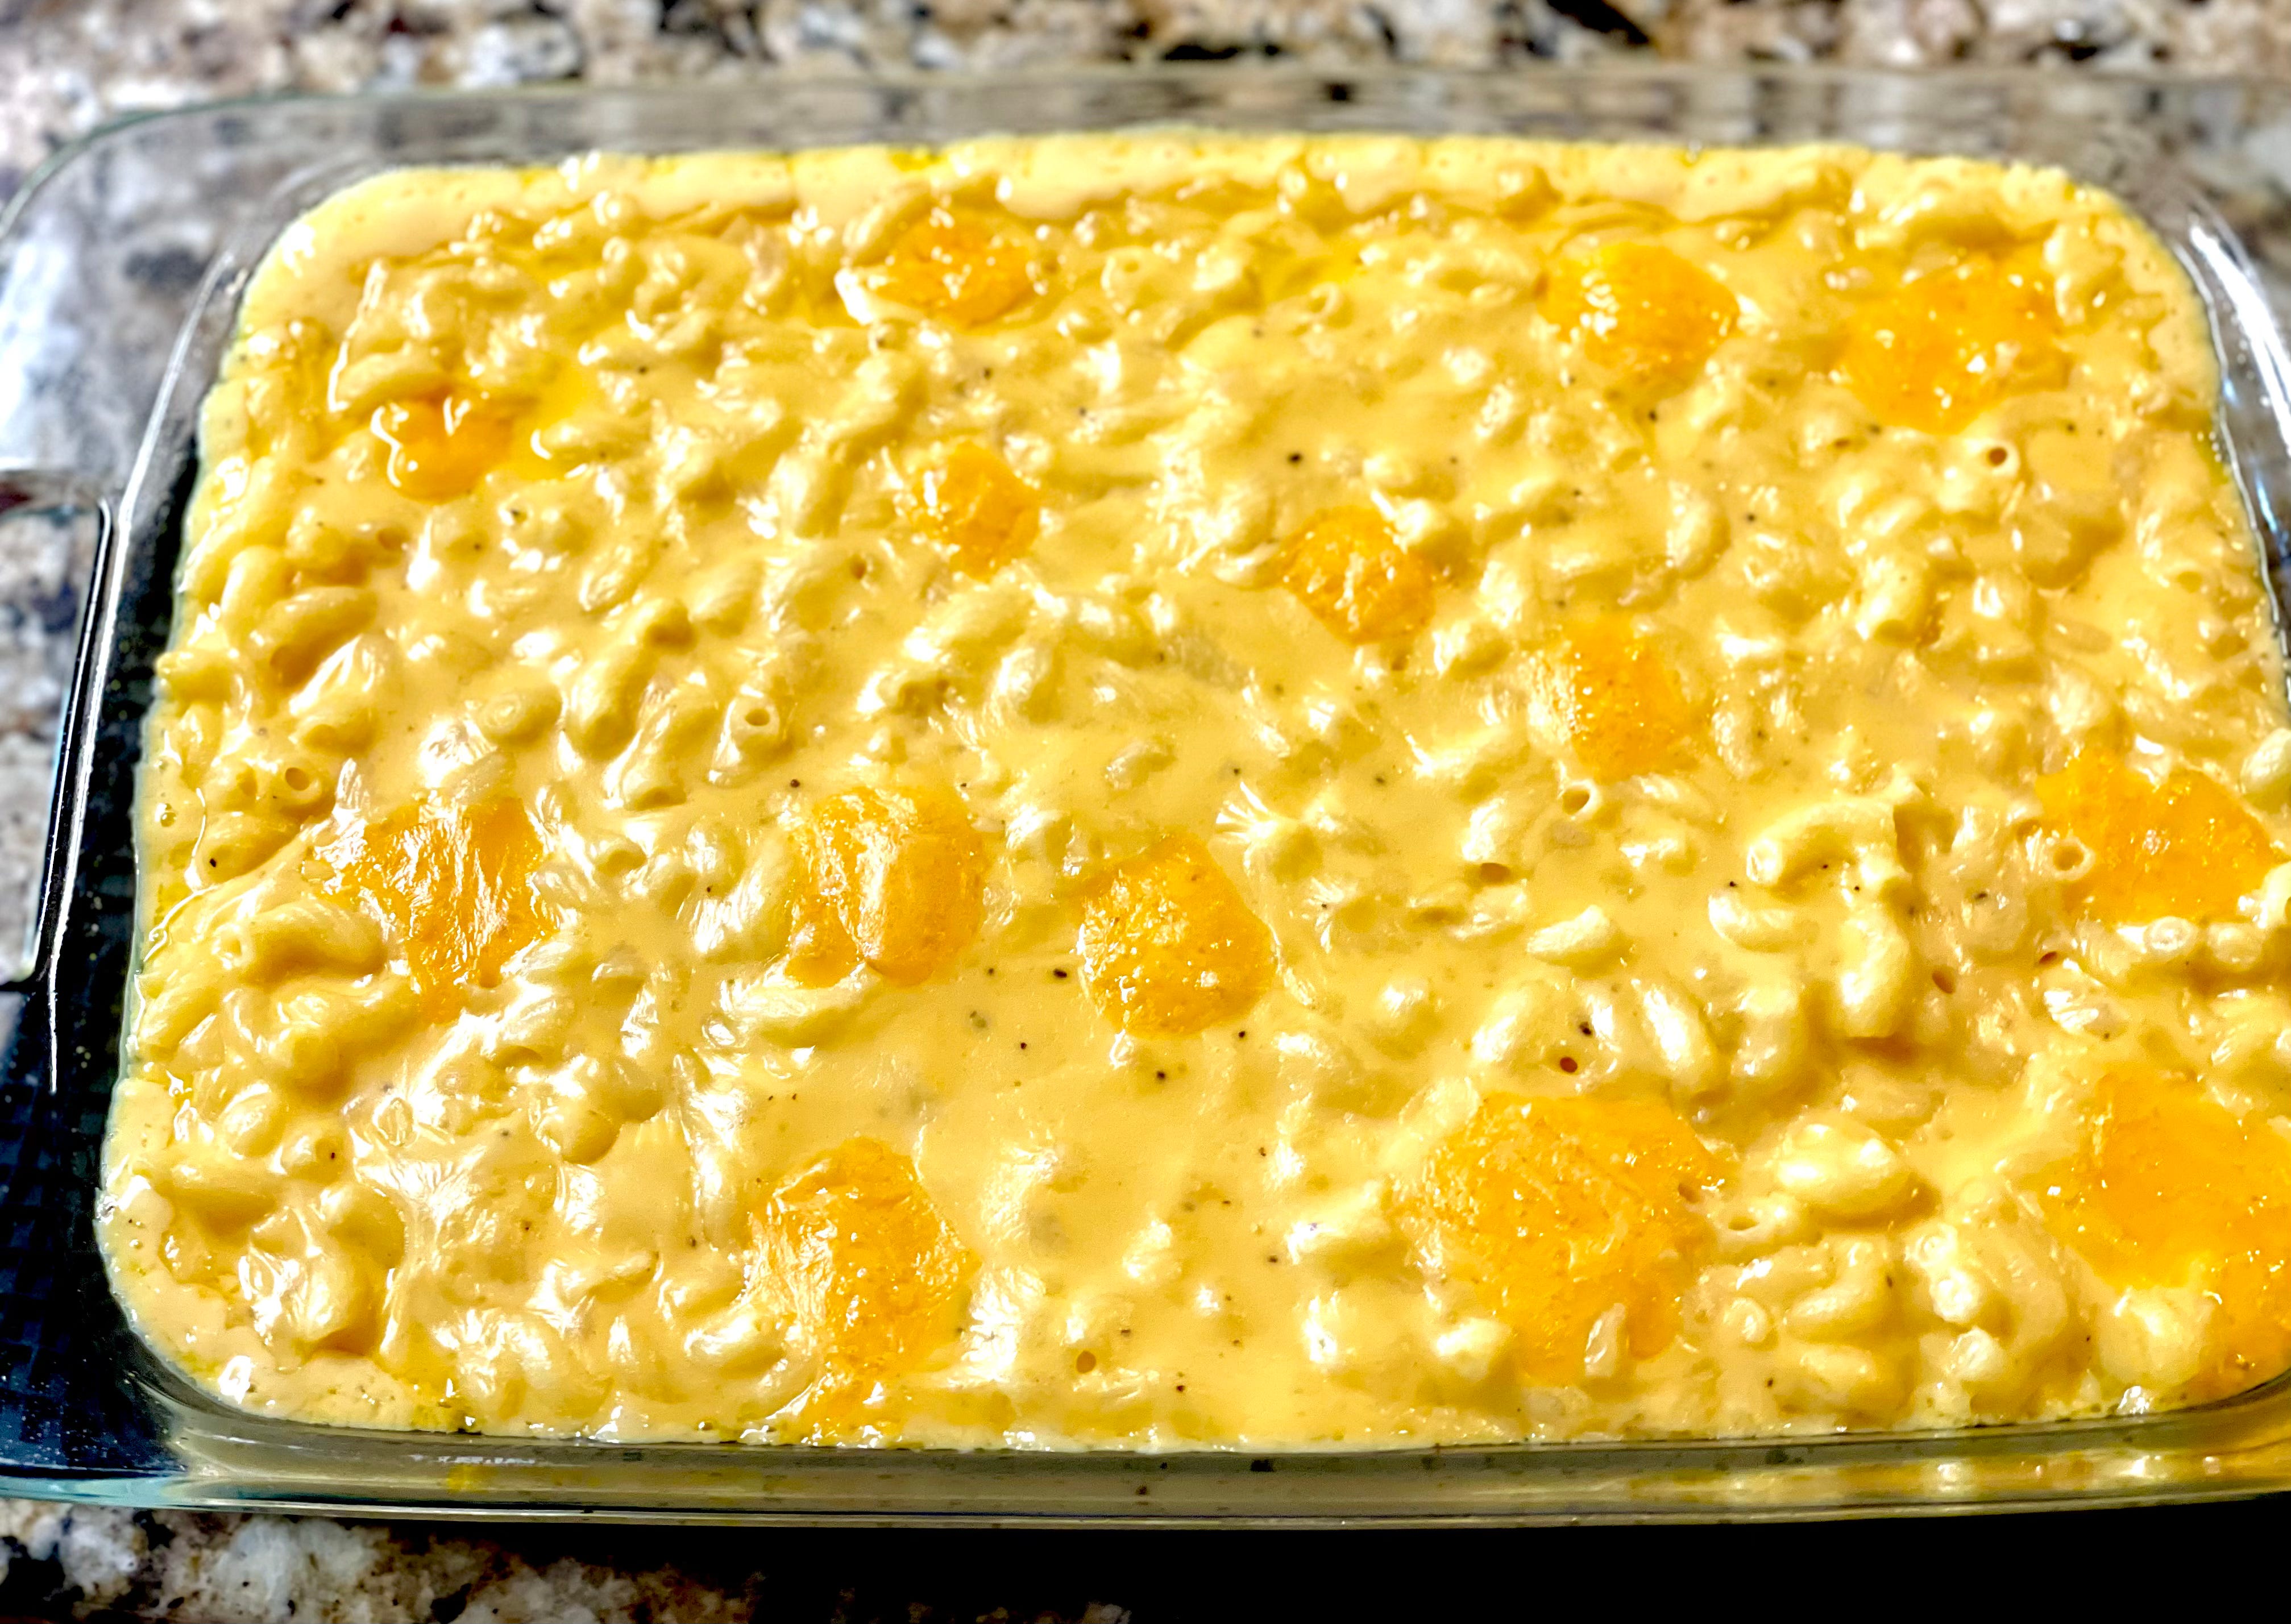
Now, take your cheddar cheese cubes you saved and sprinkle them over the top of your pasta. When these clumps melt, they leave a perfect, gooey cheese bomb. They are my favorite part!
(If you are wanting to add a breadcrumb topping, melt your better in a bowl in the microwave. Add the breadcrumbs, stir until the butter coats the bread pieces, and evenly coat on top of the mac ‘n cheese. I like this mac with and without the breadcrumbs, but today, I decided I didn’t want them.)

Lastly, bake your macaroni and cheese for 20 minutes.


At last, you can enjoy this incredible pasta! Here’s what it looks like cooked. See how creamy it is? And those melty cheese clumps.
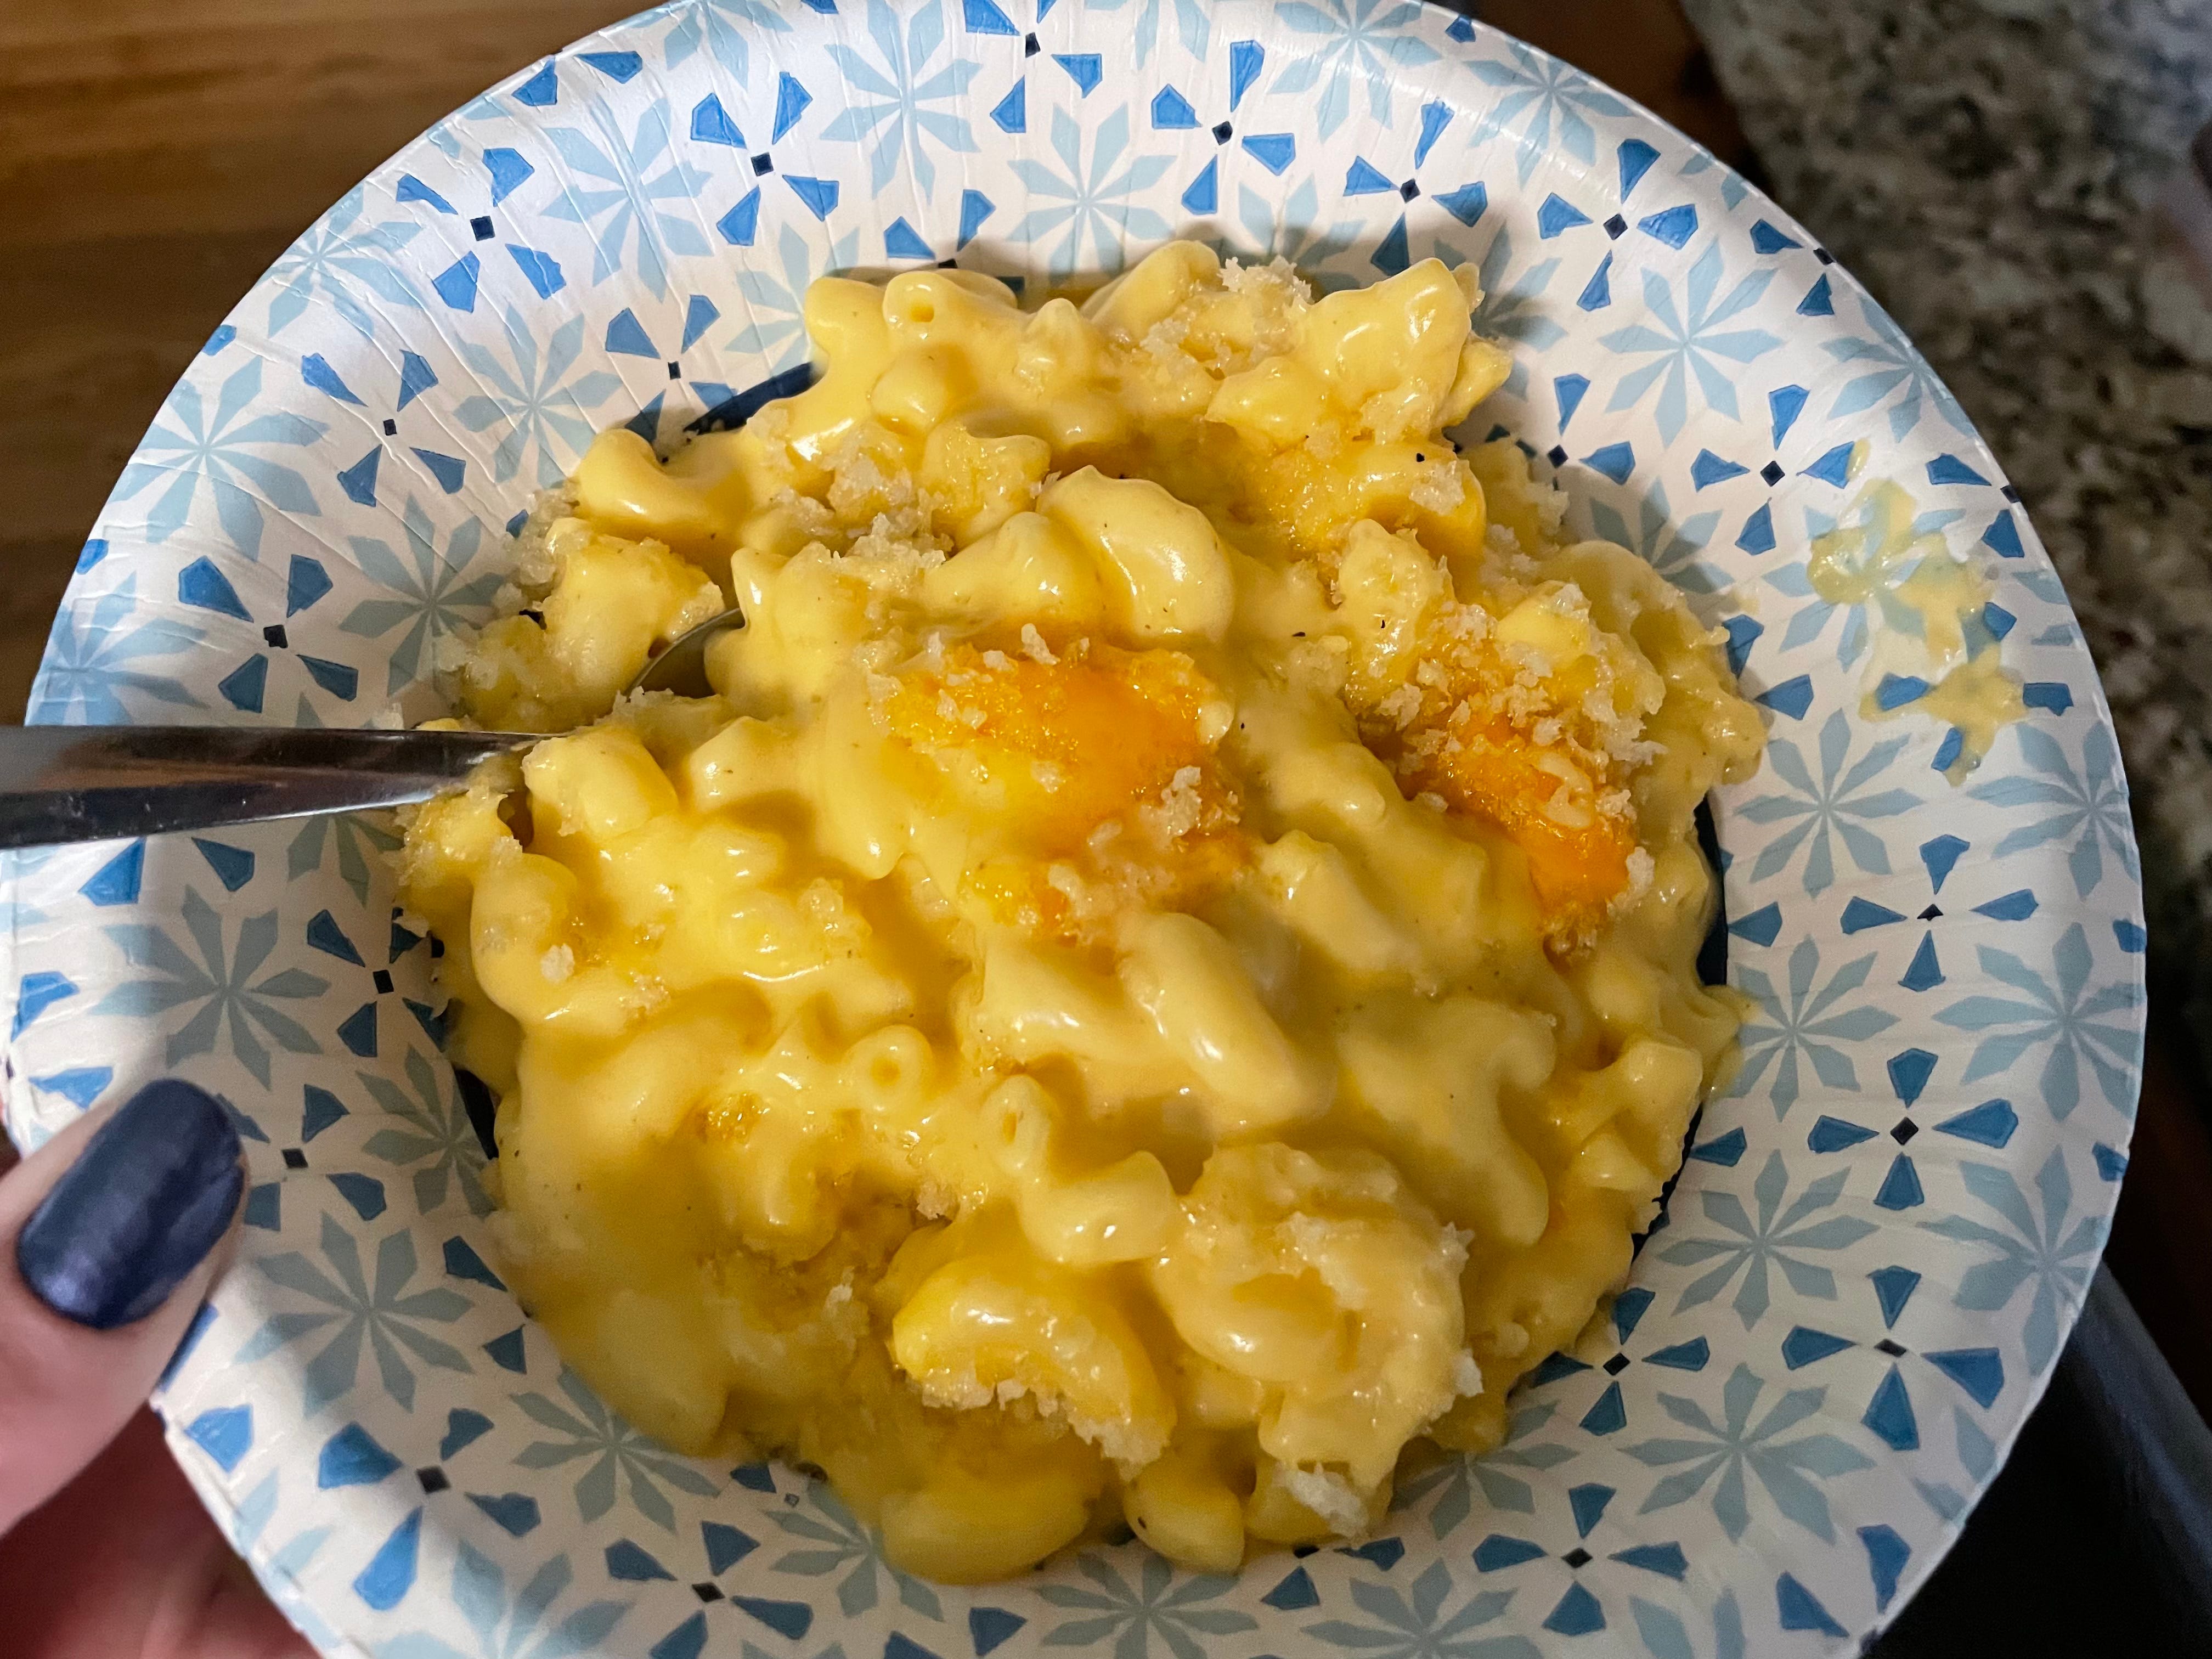
Here is an up-close picture of this pasta in my fancy paper bowl, and as you can see, this is from a time I made it with the bread crumbs. Both ways, it is fantastic.
I hope you try this recipe out for yourself! It really is the best gluten-free mac ‘n cheese, at least to me. I’ve made it numerous times, and I’ve never been disappointed with it. Let me know in the comments if you try it and what you think! And happy cooking!
Looks so cheesy and delicious!!!🤩